Green Inspiration

Happy St. Patrick's Day! Today is right up there when it comes to my kids' favorite holiday! Funny, right? They love the fact that Leroy the Leprachaun comes and turns the milk in the refrigerator green and plays tricks around the house..... and I love decorating with the color green and any excuse to throw a party/make a holiday themed dessert:)
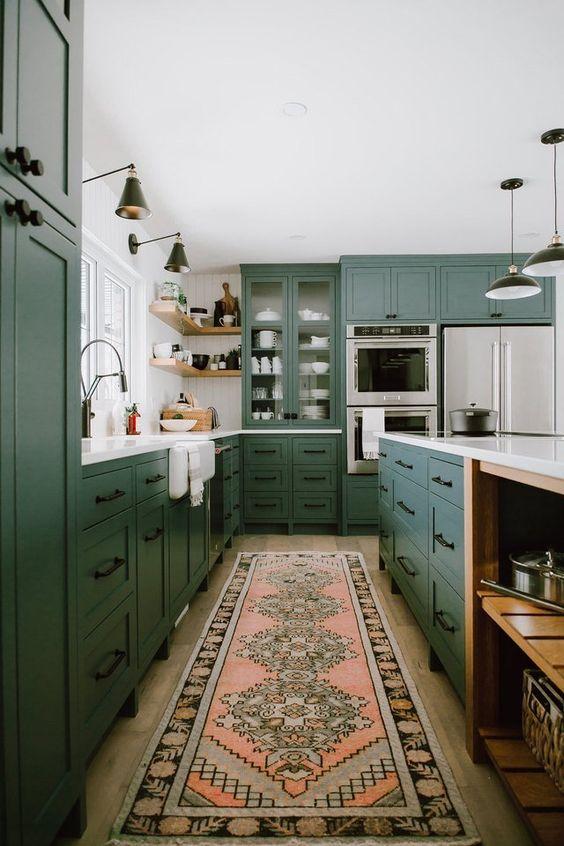
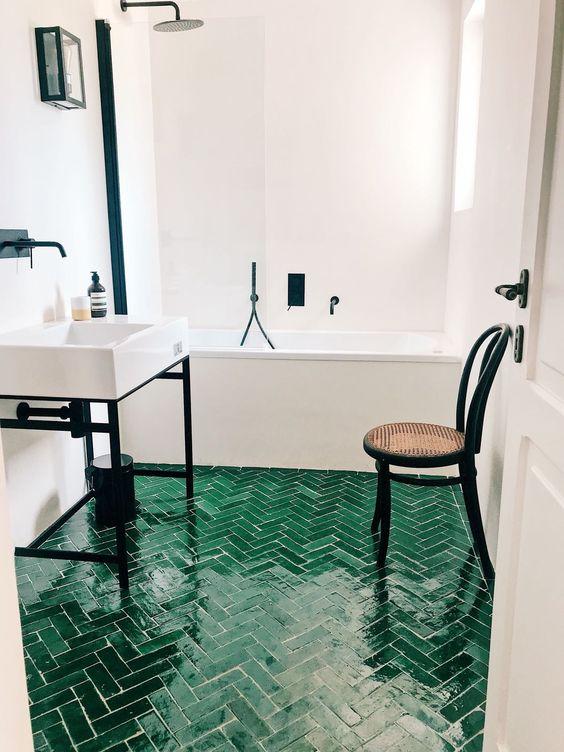
Speaking of the color green...... I'll never be over it. I truly love all the colors, but green is something special. Not that it really matters, but green is everywhere in the design world right now, too:) Check out the meaning and symbolism of the color green in a Green Interiors post I wrote last year, and be inspired by the green interiors I'm drooling over right now.....
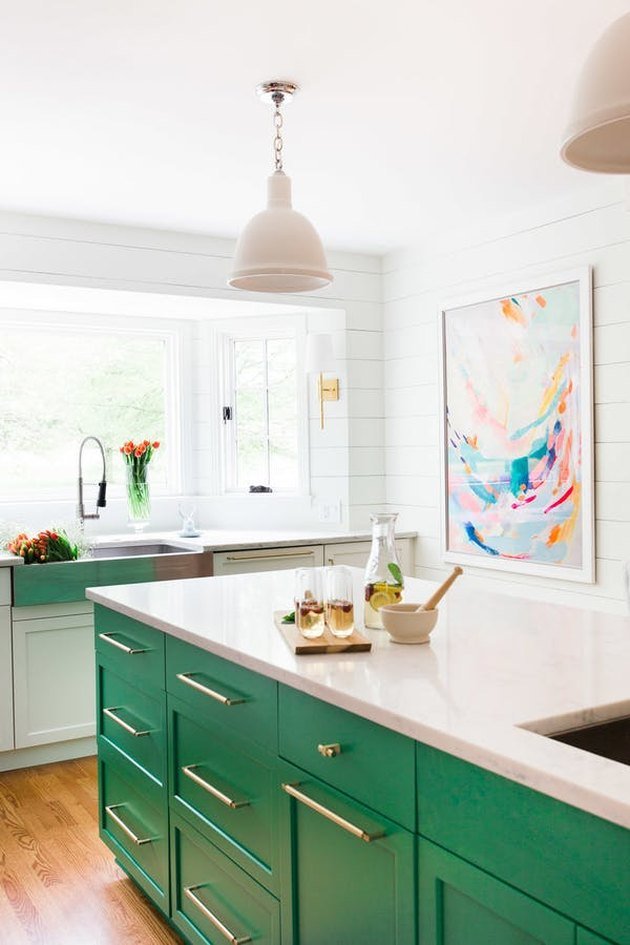
via Style Me Pretty
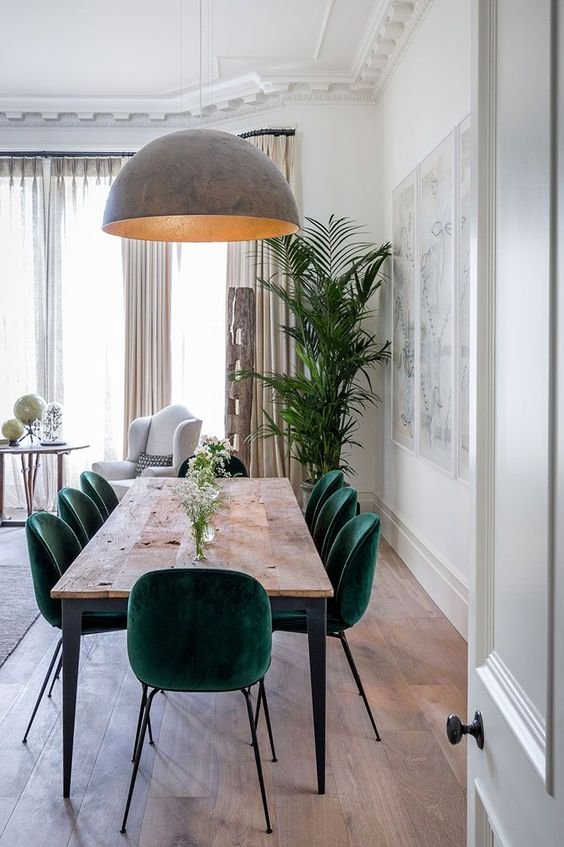
via pinterest
via trullodeipini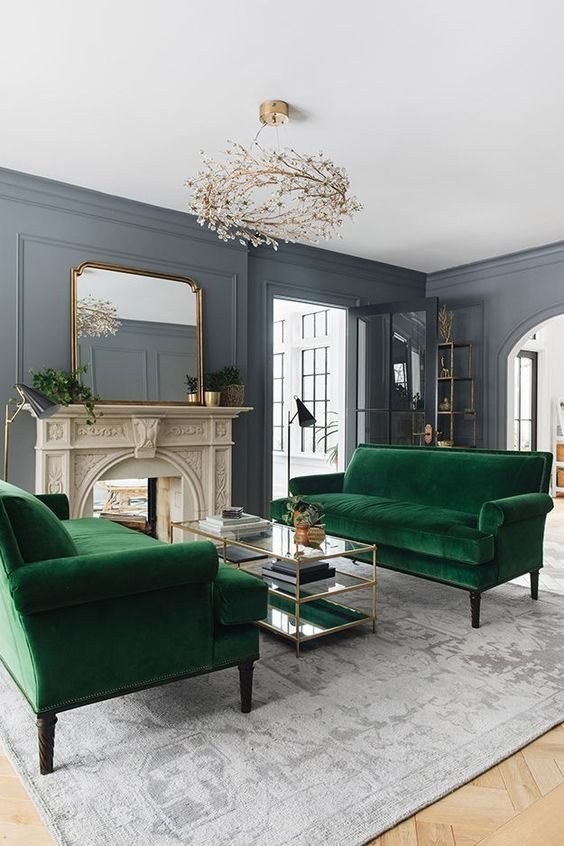
via pinterest
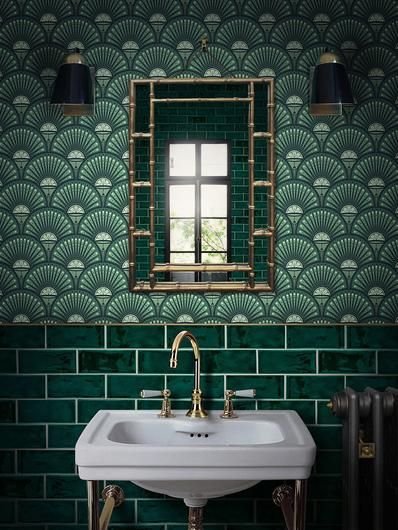
via pinterest
|
like blog
|
The Best Banana Bread Trick

Is there anything better than a warm, fresh from the oven slice of banana bread? No, I submit to you that there is not. I love baking and eating banana bread, but I’ve always found it a little bit tricky because you have to time it just right with your browning bananas. If you use bananas that are still ripe it never tastes as good, and if you wait too long, you get moldy, fruit fly infested bananas, and that is just gross. I can’t tell you how many times I’ve missed the perfect “bananas are ready today to make banana bread” window…. Only to have to go buy more bananas that will be ready in a week for my favorite loaf of bread.
I realize this is totally a ridiculous first world problem. But it is what it is.
This has been my banana bread making conundrum for the past 15 years. And then I learned a little secret last month that has CHANGED MY ENTIRE LIFE!!! You guys. It’s so simple. And effective! I just wish I would have thought of it....
Okay, here it is:
Want to make banana bread, but you only have ripe bananas? No worries! Simply pop those babies on a cookie tray, and throw them in the oven at 350 degrees.
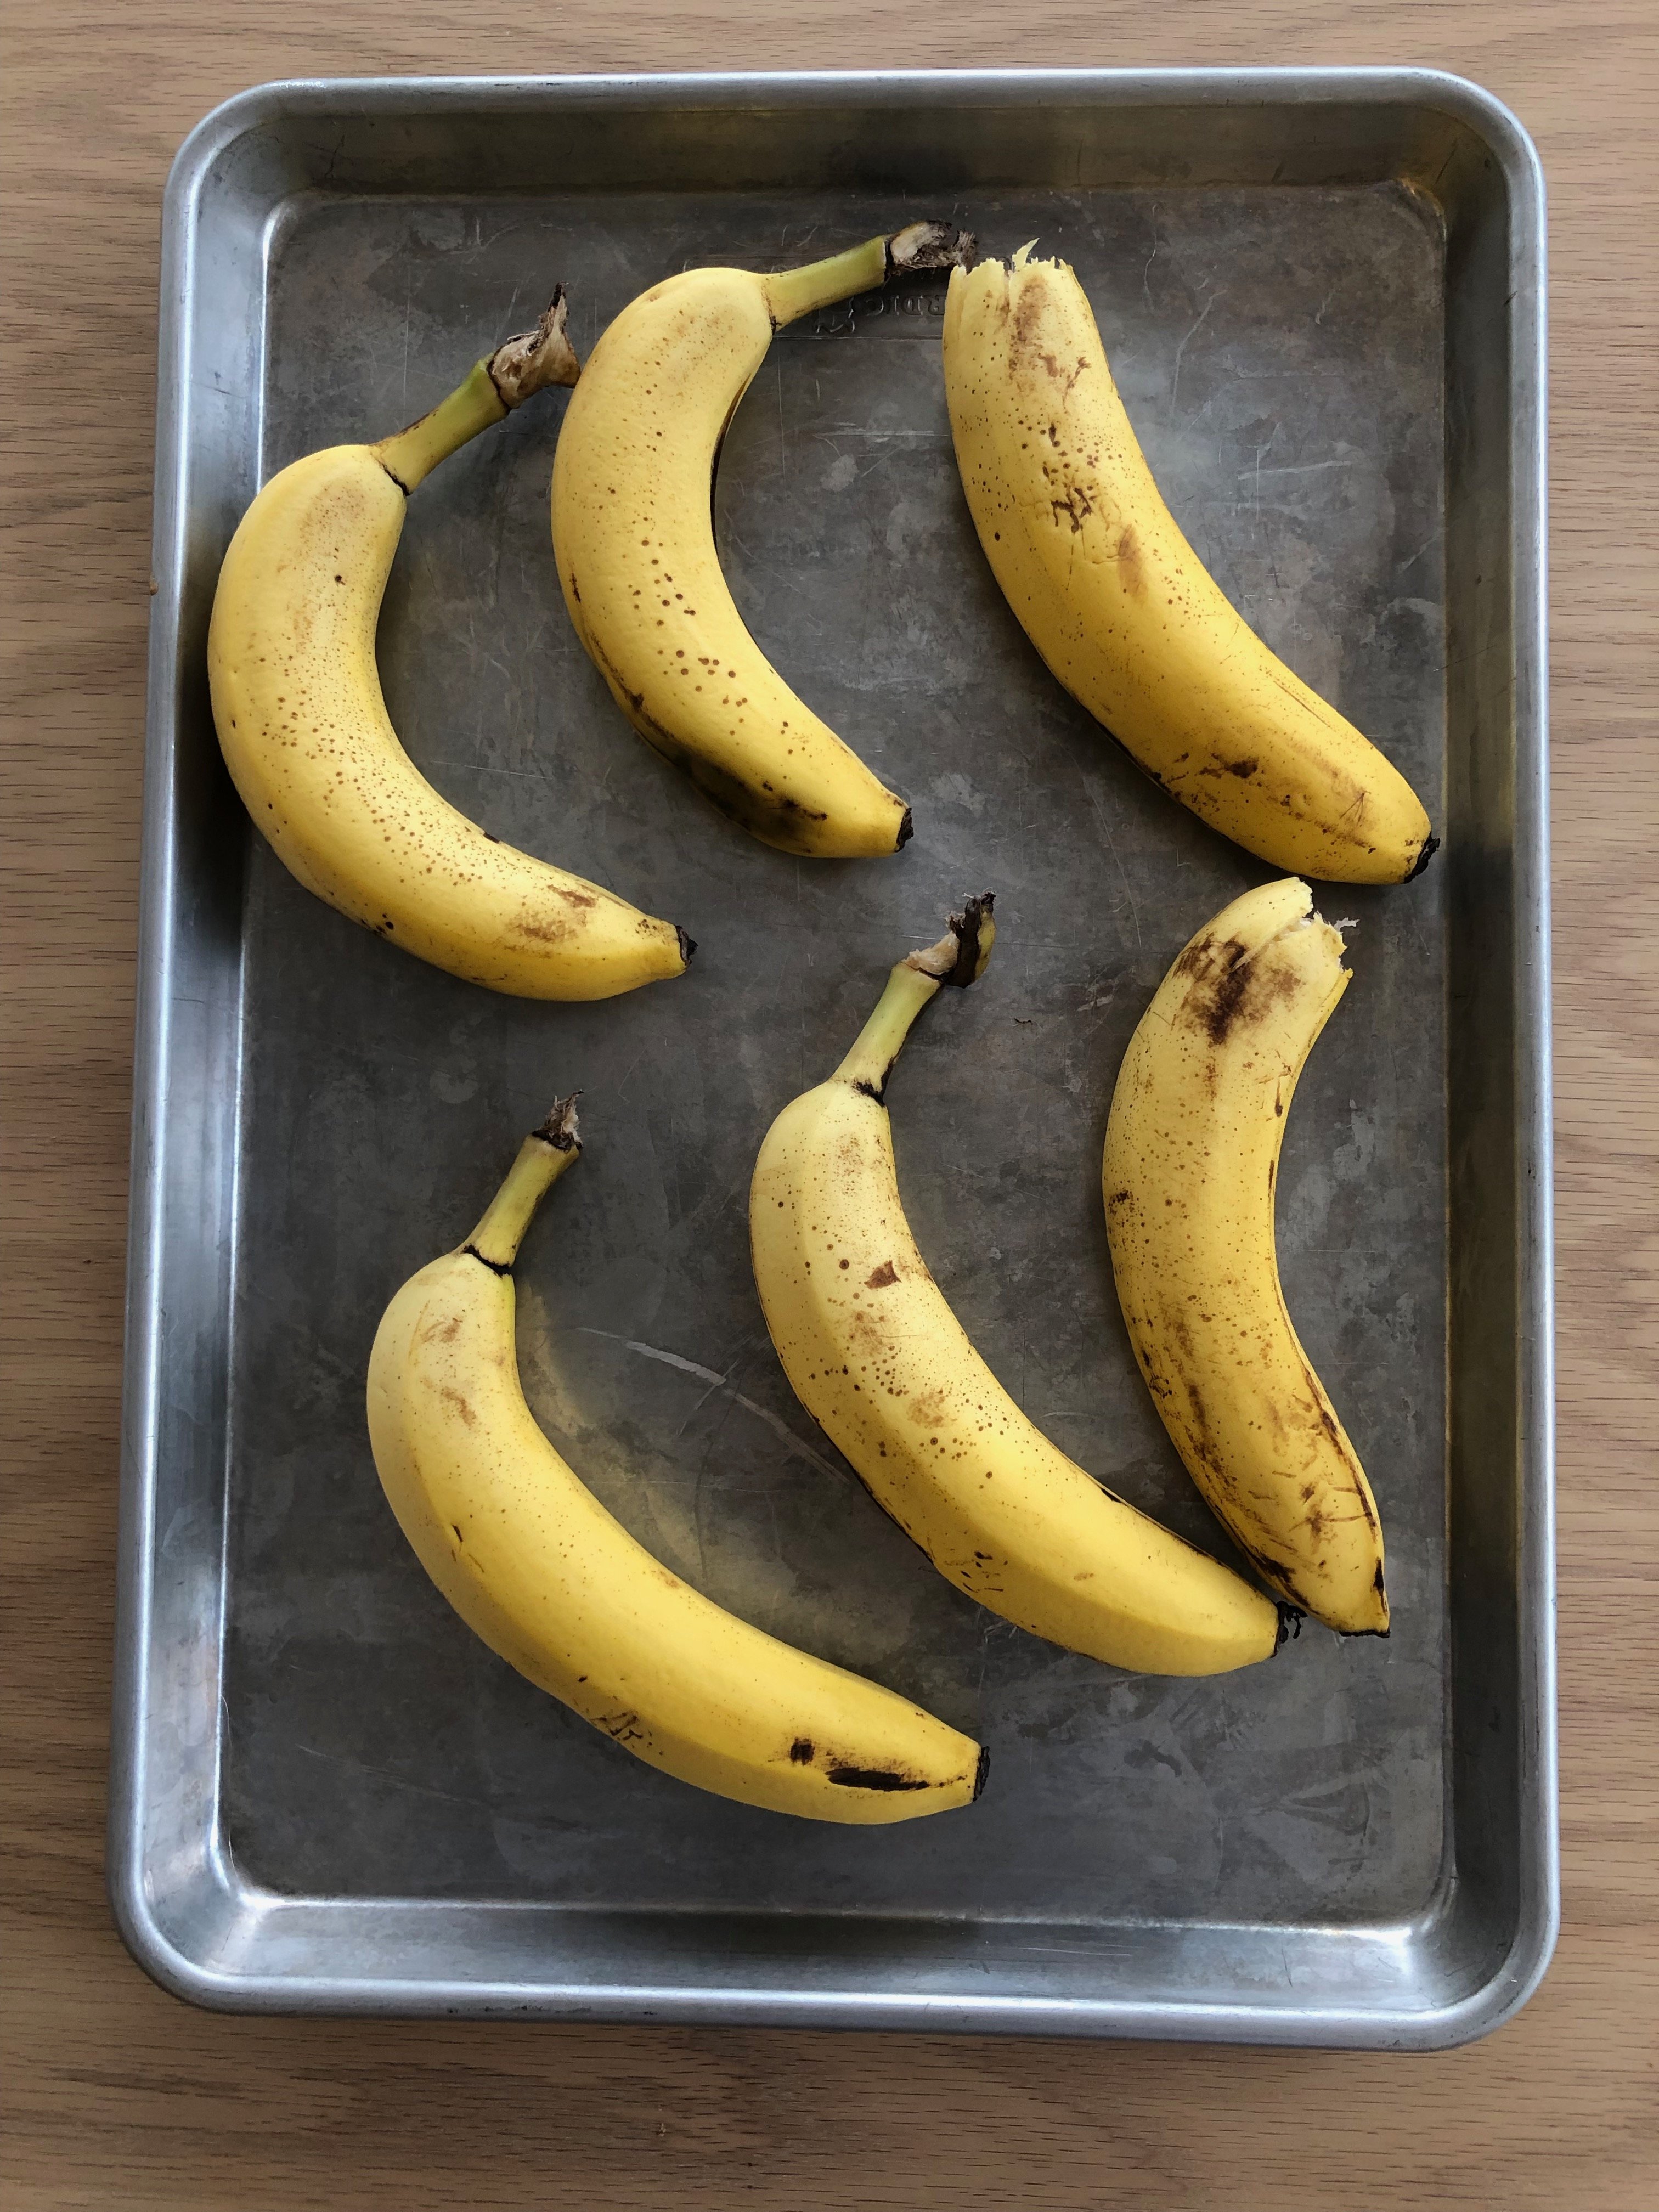
After about 20-25 minutes, those cute little yellow bananas will be black as night.

Perfect for banana bread!! I think I’ve literally made banana bread every week this month.
Like I said. Life changing!
Try it!
And while you’re at it, go ahead and try Chrissy Teagan’s banana bread recipe. It's the best banana bread recipe I've ever tried!
|
like blog
|
Painted Wood Paneling

How many of you have wood paneling somewhere in your house? The basement of our home has wall to wall wood paneling, and when you combine the wood paneling with dark brown carpet and fluorescent lighting, it wasn’t the most inviting place to spend time. We recently finished painting the wood paneling white and it is amazing what a difference it has made in our home. If you have wood paneling in your home that you don’t love, think about painting it! 
Painting Wood Paneling
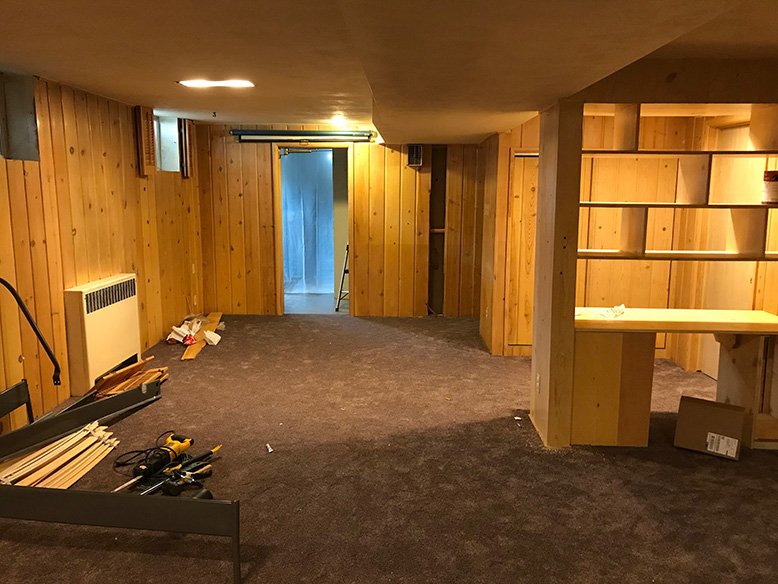
BEFORE
- The knotty pine paneling in our basement had a glossy finish on it that we needed to sand off before we painted to make sure the paint would stick. This was the hardest and longest part of the process because of all the grooves and indents. There were a couple of places we skimped on sanding and it’s obvious where that happened, so don’t slack off when you are sanding! This is also the time to make any repairs on the walls with wood putty.
- Once everything is sanded, wipe down the walls and paint on your primer. Let it dry completely before you start painting.
- Now that it’s sanded and primed, paint like a normal wall. We rolled on the flat parts and used a brush to fill in the grooves. Wait until the paint is completely dry before you start your next coat. You will most likely need at least two coats.
- Finish the job by painting any trim or molding and now you can enjoy your freshly painted room!
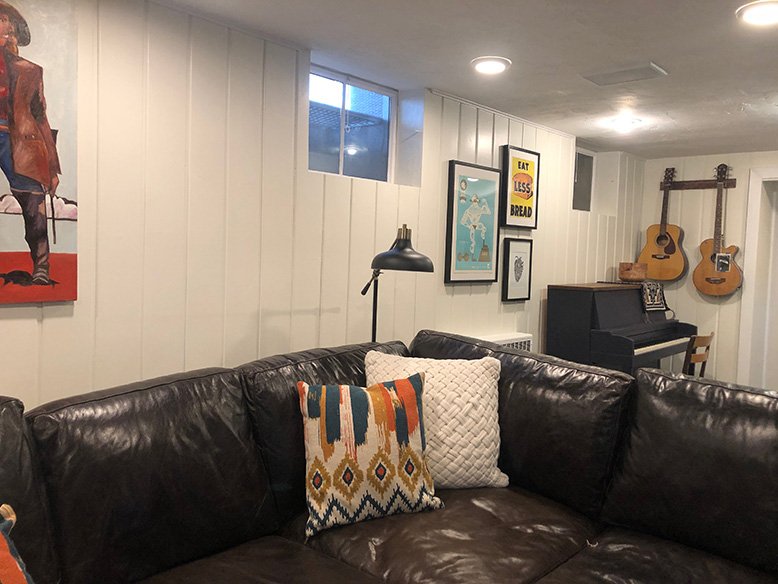
AFTER
Have you ever painted wood paneling? How did it go?
|
like blog
|
Painting A Piano

Have you ever considered painting that old, dinged up piano sitting in your living room? I grew up playing the piano and always wanted one when I got older, but buy a new piano was definitely out of our budget. We bought a second-hand piano for only $150, but it definitely did not add to the aesthetics of our home. It was scratched and dark brown and an overall eyesore. With just a few coats of paint though, it’s not one of my favorite things in our house! It was also significantly easier to paint than I thought it would be. Here's how I did it. 
Painting A Piano
Before I tell you how I did it, I know there are some of you who might be dying over the fact that I put paint all over a piano. I haven’t noticed any difference in the sound quality of my piano, and honestly, it was only worth $150 anyway. The one thing I did read in though was that you shouldn’t paint the back panel - that is the soundboard and painting that will affect the sound of your piano.
Alright, now that’s out of the way, here’s how I painted my piano.
1. Get your piano somewhere where you can sand and paint without a problem. This only took me one day, so if it’s nice weather and it’s easy to get your piano outside that might be the best option. I painted mine in the unfinished section of our basement.
2. Remove anything that can be easily taken off. In this case, I took off the lid of the piano, the knobs for the drawer, and the music stand. This will make it easier to sand and paint.
3. Repair anything that needs to be fixed on your piano before you get started. There was a major gouge in the side of the piano which we filled with wood filler and then sanded smooth.
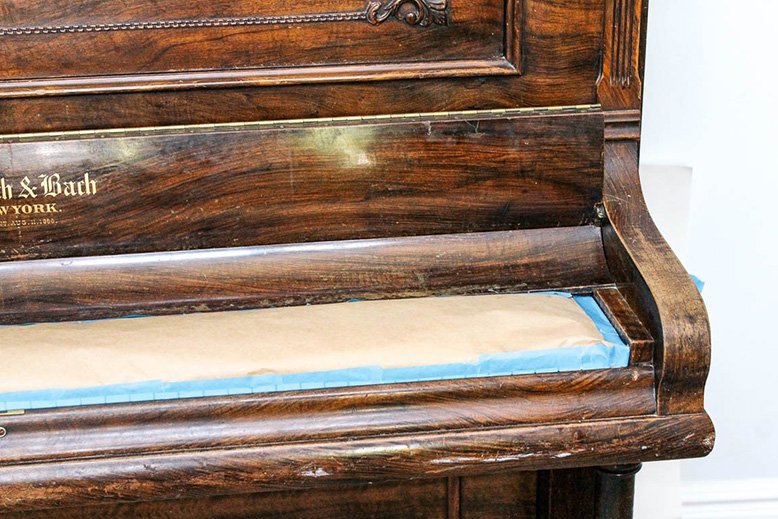
4. Tape everything off! Be especially careful around the keys of your piano. You’ll be sanding and the last thing you want is dust all in your piano. You’ll also want to tape off the pedals.
5. Start sanding. I used an electric hand sander for the larger parts of the piano and a sanding block for anywhere the sander couldn’t get like corners and rounded piano legs. Your goal here is to smooth out any bumps or scratches and to get as much of the glossy varnish off as possible. Your paint job will last longer and look better if you don’t skimp on this step. After you've finished, make sure you wipe down all the dust and clean the piano in preparation for the paint.
6. Prime your piano. I chose a dark blue paint color for my piano and just happened to have a grey primer at our house that worked perfectly. If you’re going to be painting your piano a dark color, a grey primer is a great option. If you’re wanting to go for a lighter, brighter color stick with white. I only needed one coat of primer.
7. Sand again. This time you're going to go over your primer and lightly sand out any bumps, bubbles, or drips in the paint. This is an important step if you want a smooth finish on your piano.
8. After you've lightly sanded and wiped down the piano, start painting! I wanted as smooth of a surface as possible so I used a high-density foam roller and a brush for the smaller areas I couldn’t get to with the roller. Let each coat completely dry before starting your next one. I only needed two coats, but if you are going from a dark piano to a lighter color, you may need to do more.
We also decided to stain the lid of the piano rather than paint it the same color as everything else. It took us a little longer to finish just because we added an extra element. Still, all in all, it only took us a day to finish the piano. Most of that time was time for the paint to dry.
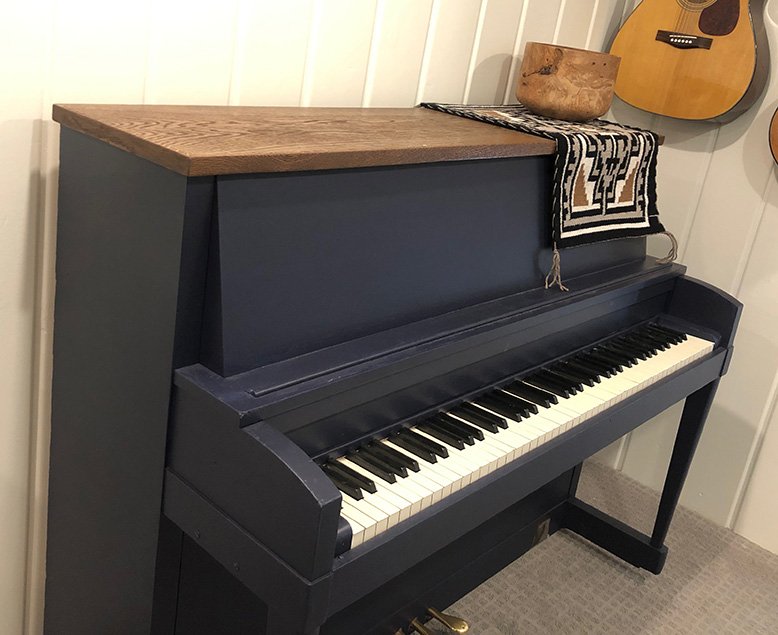
The finished product!
9. After it’s completely dry - I let mine sit overnight just in case - you can remove the tape and reassemble everything. Enjoy your new piano!
I’ll be honest, it was a pain to paint a piano with my toddler running around and so interested in what I was doing, but that was the hardest part! It felt overwhelming to get started, but once I did the process went quickly and smoothly, and I’m thrilled with the end result.
Do you have a piano you might paint? What color would you choose?
|
like blog
|
3 Reasons Why Everyone Should Try A Weighted Blanket

My husband has always been a terrible sleeper. He's tried everything under the sun, and historically nothing has helped much. I recently heard about the benefits of using a weighted blanket at night, and so I bit the bullet and got him one for Christmas. I wasn't sure what to expect, and didn’t know if it would help him at all, but I thought it was worth a shot. After using it for two months now, HIS LIFE IS LITERALLY CHANGED. I kid you not. He has never slept better. I swear this thing is magical.
Here are three reasons why everyone (including children!) should try a weighted blanket…
1. It helps your body calm down and relax at bedtime.
Do you have a hard time unwinding when it comes time to go to bed? Feel like you’ve been going a million miles an hour and you just can’t turn your brain off? Weighted blankets have been known to reduce nervous system activity, which creates a calming, relaxing effect in the body and mind. The results are pretty immediate.
2. It greatly improves the quality of your sleep!
Weighted blankets help our brains produce serotonin, which then helps your body produce melatonin… which helps you fall asleep. I’m not sure about the science behind how they help you STAY asleep… but I’m here to tell you that they do! My husband used to wake up 9-10 times per night (on average every hour at least). This is how he’s slept since he was a kid. He’s been tracking his sleep with his smart watch since using his weighted blanket, and he is literally sleeping through the night. It’s nothing short of a miracle for him.

3. It helps with anxiety and other disorders, reduces stress, and boosts your mood!
A weighted blanket provides deep touch pressure stimulation, which in turn helps to build up the body’s levels of serotonin. This increase in serotonin in the brain can reduce anxiety and help people cope and deal with OCD, post traumatic stress disorder, and bipolar disorder. It also helps reduce stress levels, and improve your mood! Bonus: It feels like a warm, firm hug. Who doesn’t like that?
They typically suggest using one that is around 10-15% of your body weight. Check with your doctor before using if you are elderly, or have other concerns. Great news! RC Willey is now carrying weighted blankets. Check it out!
|
like blog
|
Laundry Room Colors

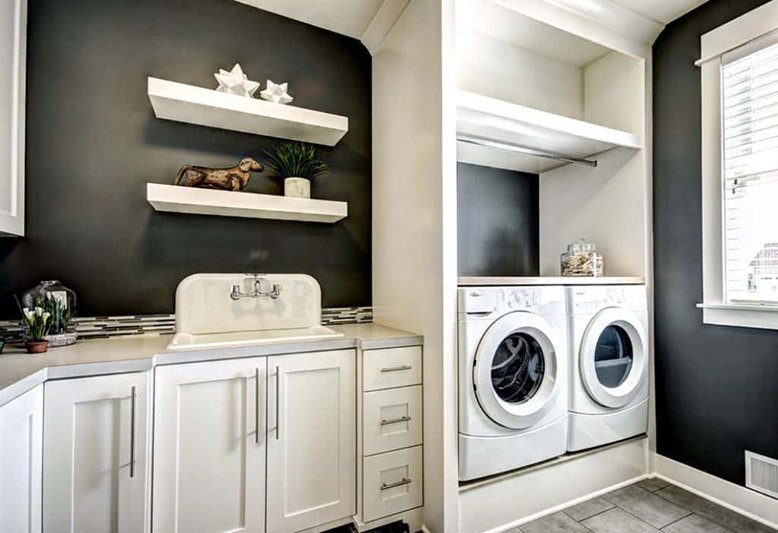
Creating a beautiful laundry room will make one of the worst days of the week much more enjoyable. By picking the right laundry room color you’ll be able to have a laundry room you love being in. Whether you pick something bold or something a little more subdued and peaceful, picking the right laundry room color doesn’t have to be difficult! Check out some ideas below. 
Laundry Room Colors
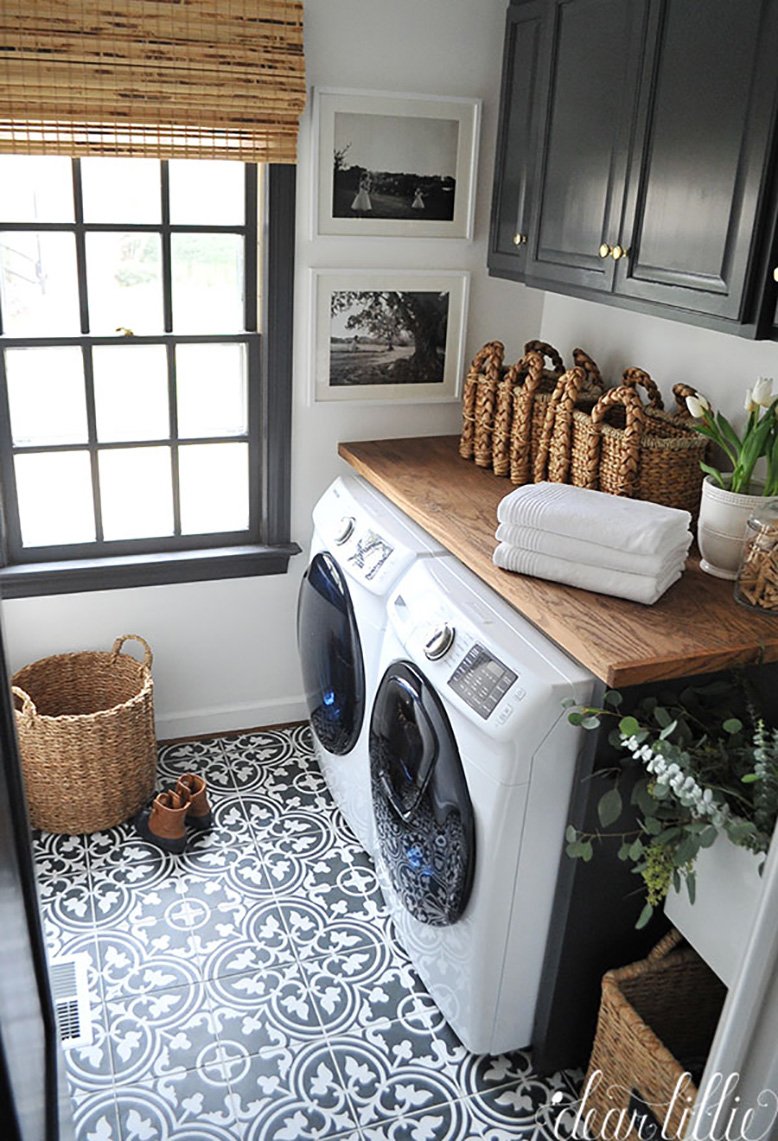
Keep it simple with Simply White from Benjamin Moore.
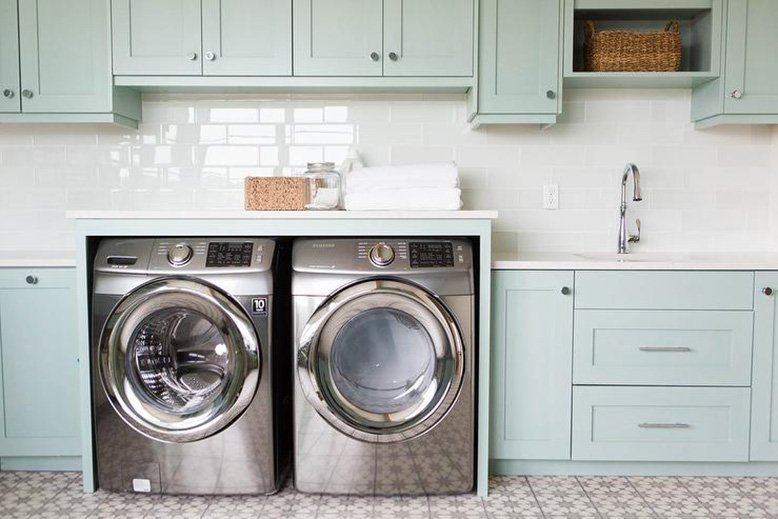
via Home DIT
Make your laundry room soft and cozy with PPG Geyser.
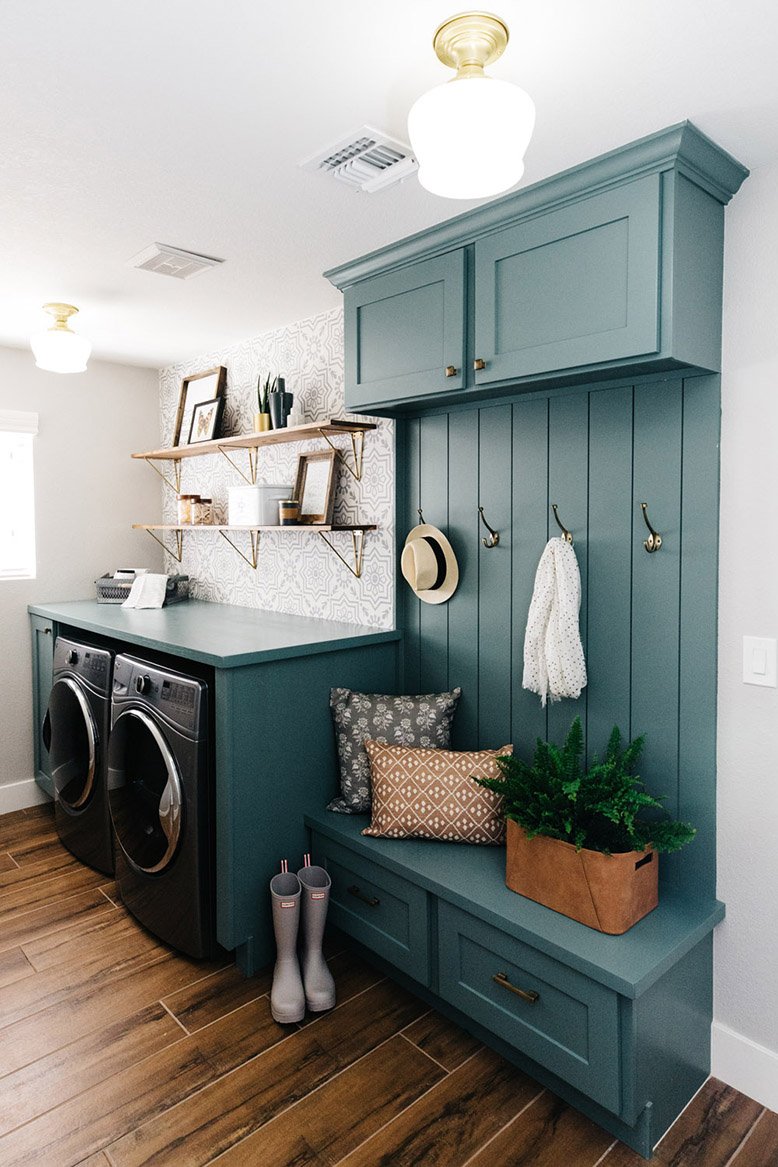
via Rue Magazine
A moody and striking laundry room is easy with Sherwin-Williams Studio Blue Green.
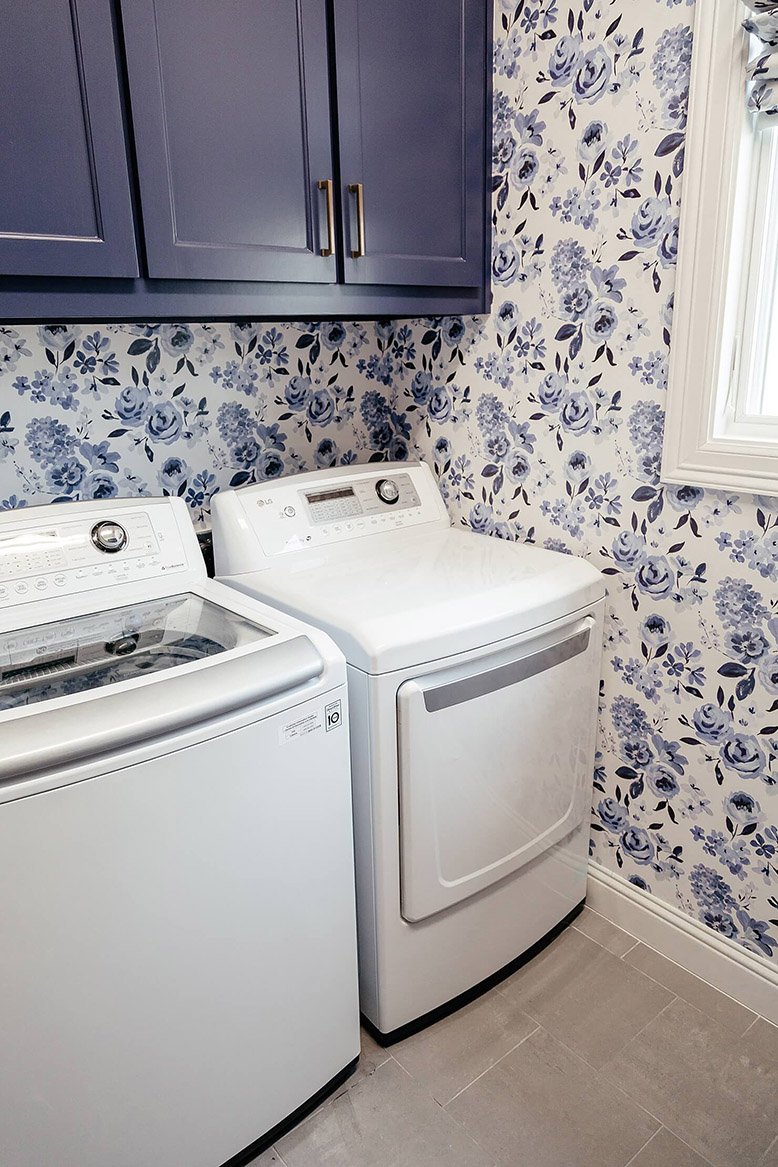
What about a pop of color with Benjamin Moore's Jet Blue?
via We Are Found
Go bold with a black wall using Black Beauty from Benjamin Moore.
What colors do you think you'll use in your laundry room? And don't forget that RC Willey has all the laundry appliances you need to finish off your room!
|
like blog
|
St. Patrick's Day Crafts

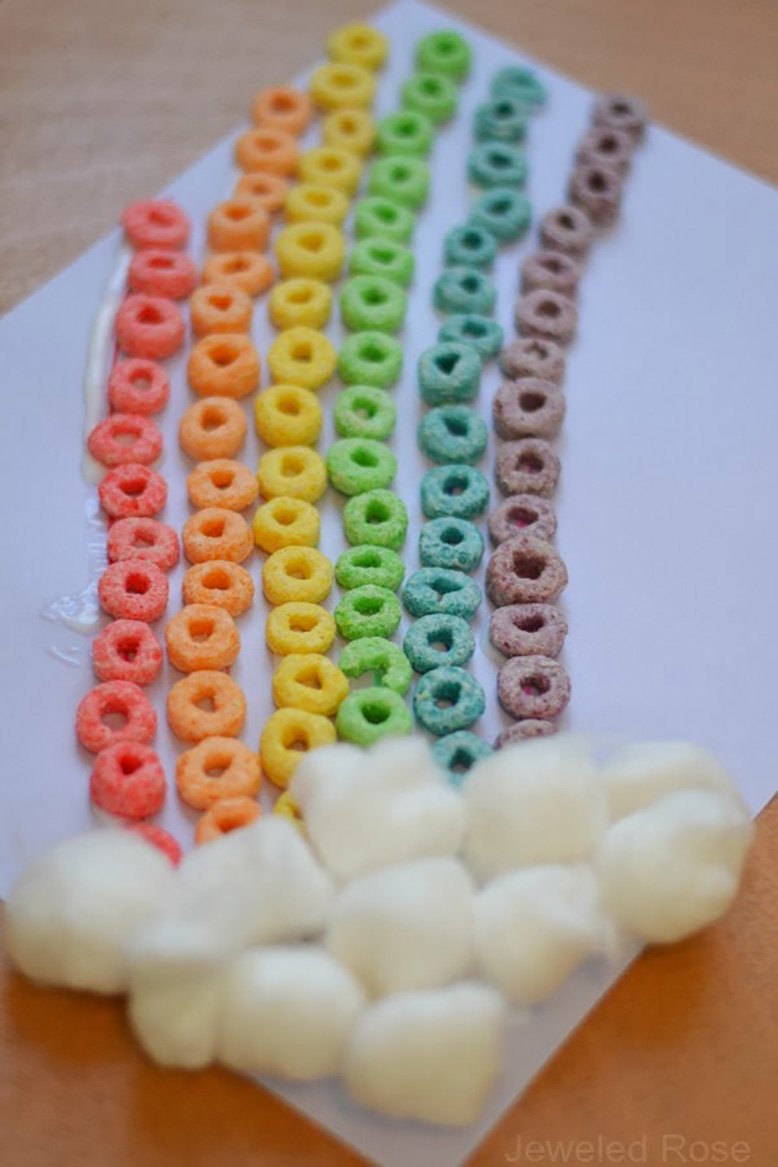
St. Patrick’s Day is coming up and what better way to get through this last bit of winter than by celebrating a holiday! If your kids are anything like mine, they love creating and making decorations for upcoming holidays. There are so many fun craft ideas that go along with St. Patrick’s Day you’ll be able to find something your little ones will love for sure! 
St. Patrick's Day Crafts for Kids

via Crafty Morning

via Twitchetts


via Crafty Morning

via Happy Mothering
What are you going to make this St. Patrick's Day?
|
like blog
|
Beautiful Kitchens
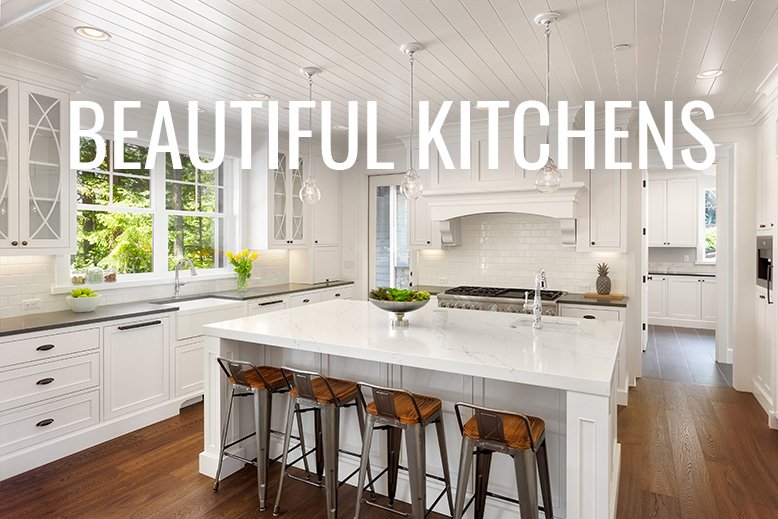
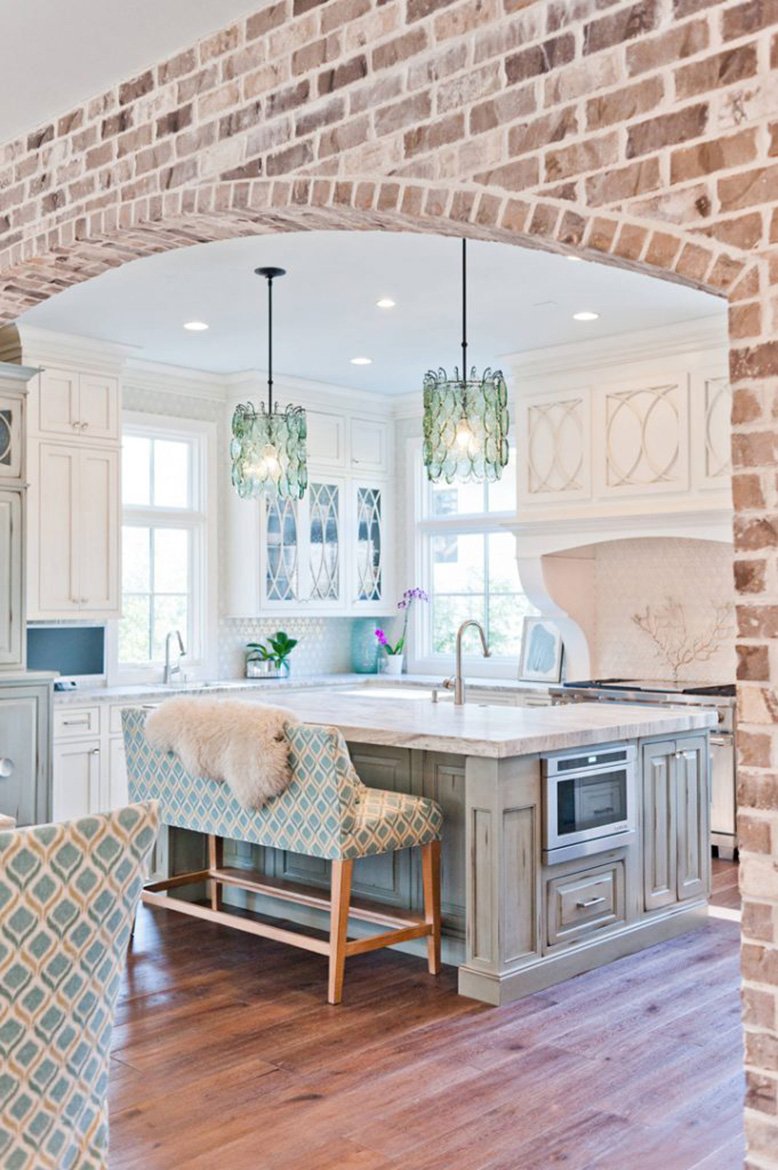
I spend a lot of time thinking about how I want to remodel my kitchen. Am I the only one? My current kitchen is pretty cramped and lacks cupboard space, but dreaming up ways to make it more functional and beautiful helps pass the time while I make dinner! I love thinking about what walls I’ll knock down and where I’ll add cabinets. If you’re trying to figure out how to change up your kitchen, or you’re in the daydreaming stage like me, check out some of these pictures for inspiration! And remember, RC Willey has all the appliances you need to finish off your beautiful, gourmet kitchen. 
Beautiful Kitchens
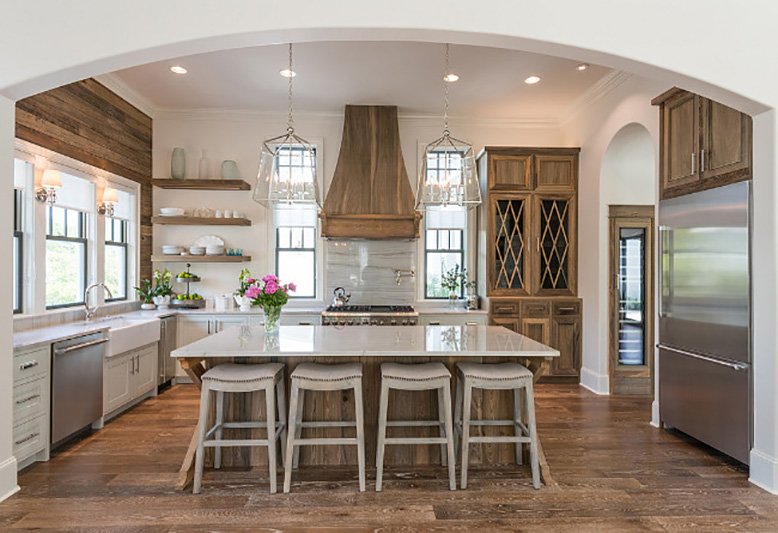
via Beach Pretty

via Daily Mail
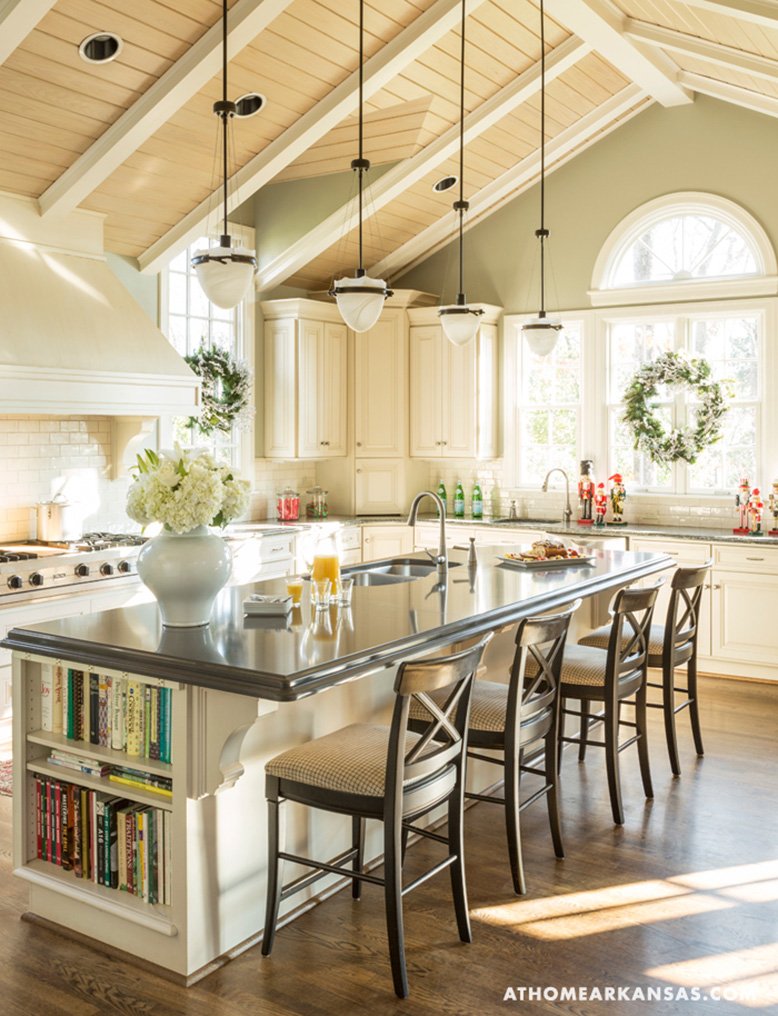
via At Home Arkansas
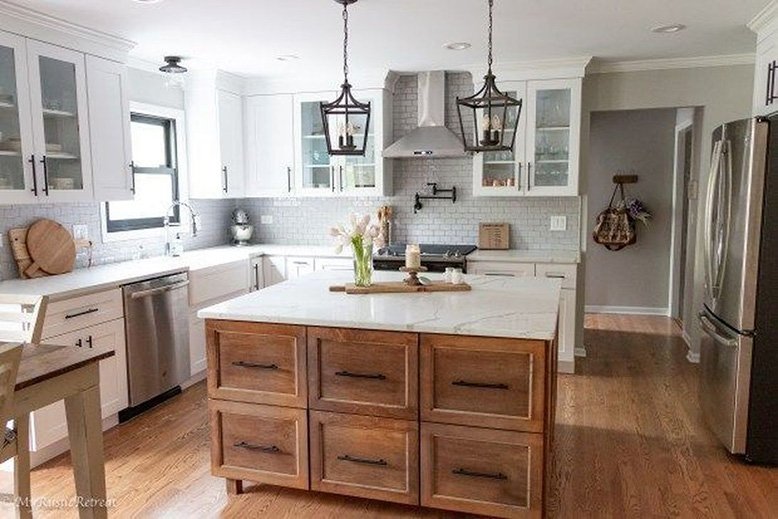
via Build Home
Are you having trouble knowing where to start designing in your room or home? Did you recently move to a new place and your old decor just isn't working with the new space? Are you recently living with a new person and running into a design disaster? RC Willey's trained design consultants are here to help. We have an amazing staff of interior design consultants who will help you with anything from furniture layout, color therapy, accessories, or even a whole home makeover! You're only five simple steps away from having a home that reflects your personal style and incorporates those things you love the most. Click here to get started!
|
like blog
|
DIY Nursery Decorations
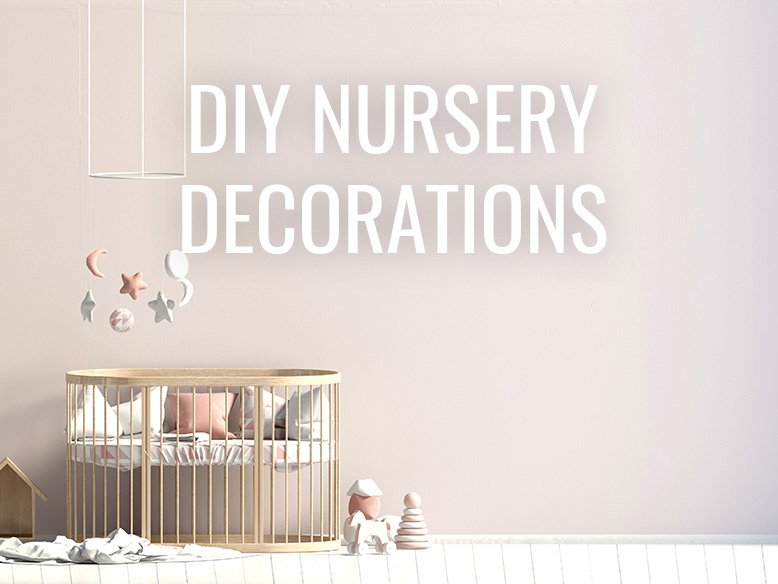
If you’re expecting a new addition to your family or are wanting up spiff up your little one’s bedroom, why not make some DIY nursery decorations? Not only will the nursery look so much homier, but you’ll also be able to admire your skill each time you rock your baby to sleep. Keep reading for some DIY nursery decoration ideas and inspiration and don’t forget that RC Willey has all the nursery furniture you need to finish off your room. 
DIY Nursery Decorations
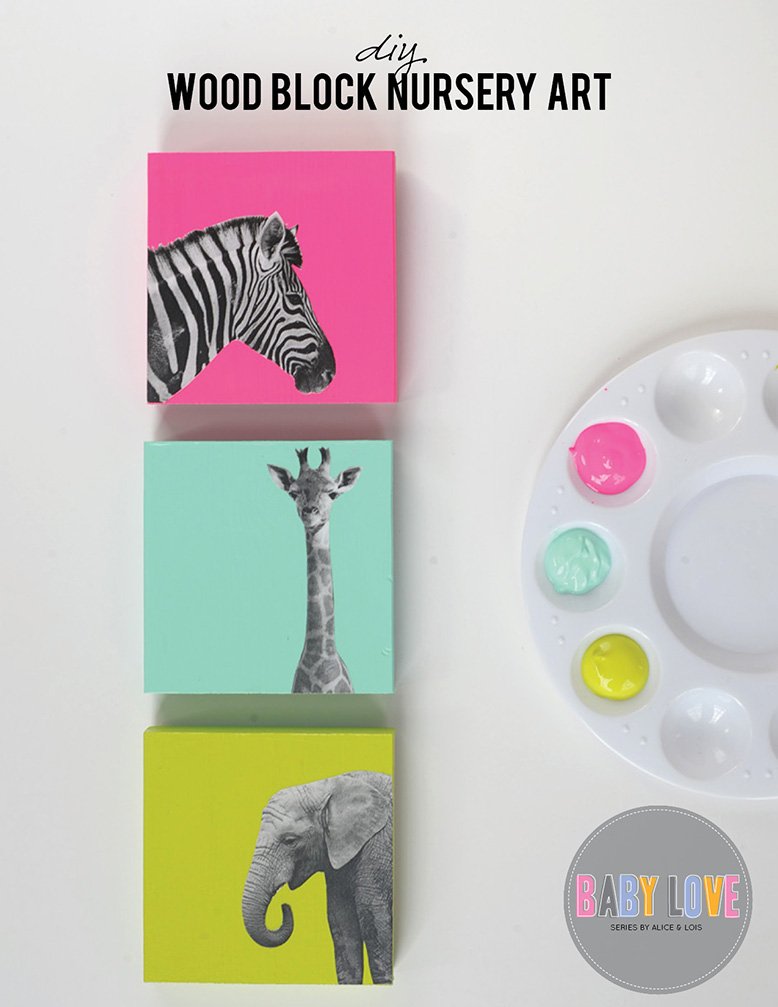
via Alice and Lois
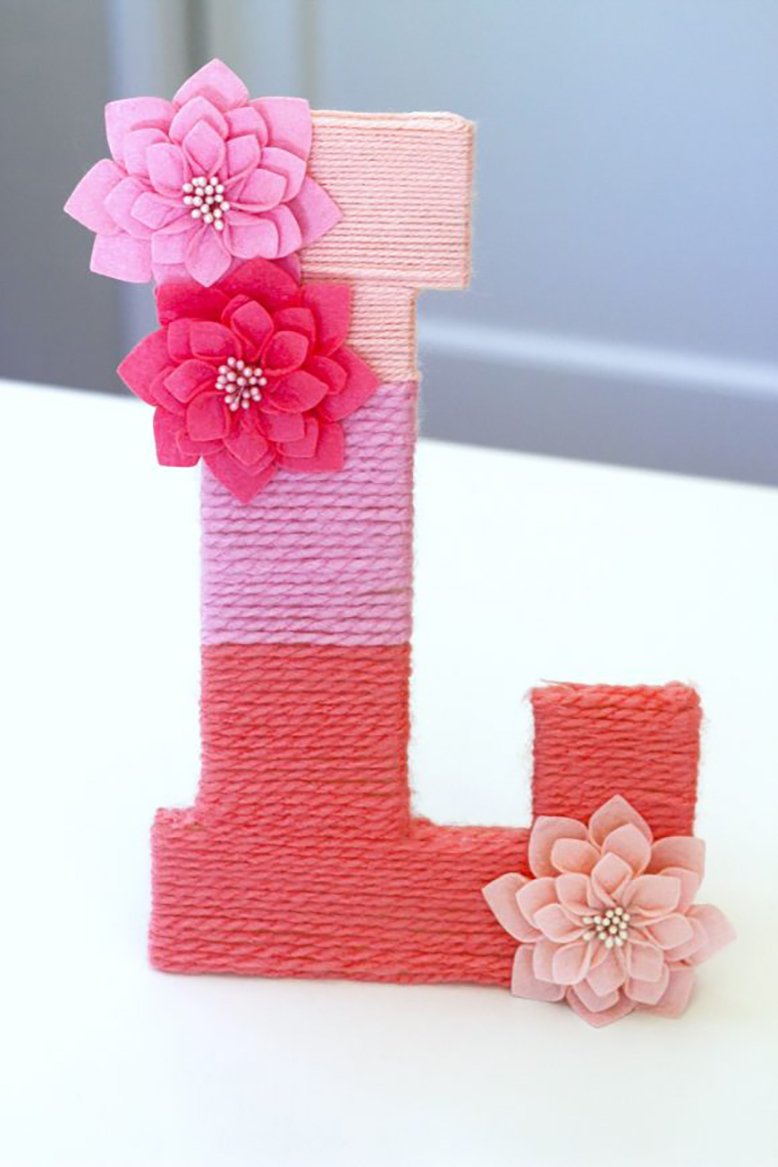
via Catch My Party

via Sweet Charli
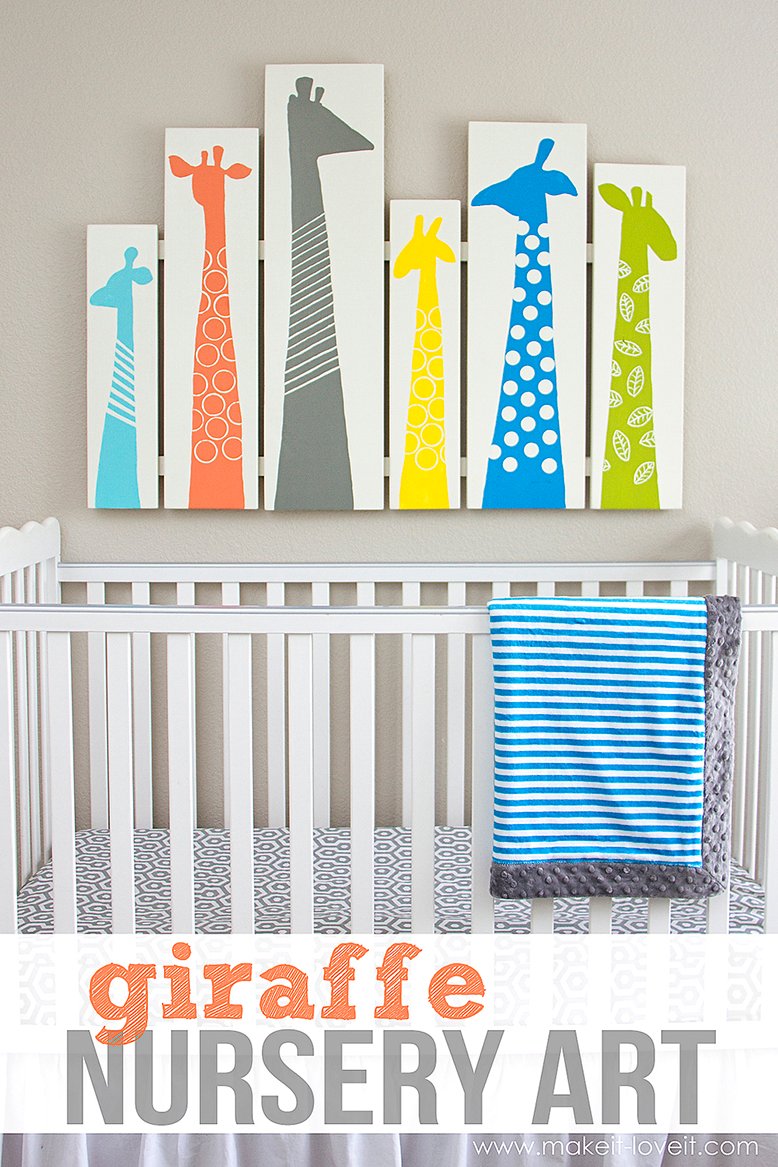
What are you going to make for your nursery?
|
like blog
|
Cozy Rooms

What’s better than having a cozy room to curl up in when it’s too cold to go outside? Yes, winter is almost over but that doesn’t mean that we won’t have plenty of cold days before it’s finally spring! Make your home a cozy place regardless of the season and you’ll always love coming home. Check out some ideas and tips for making the rooms in your home cozy below. 
Cozy Rooms
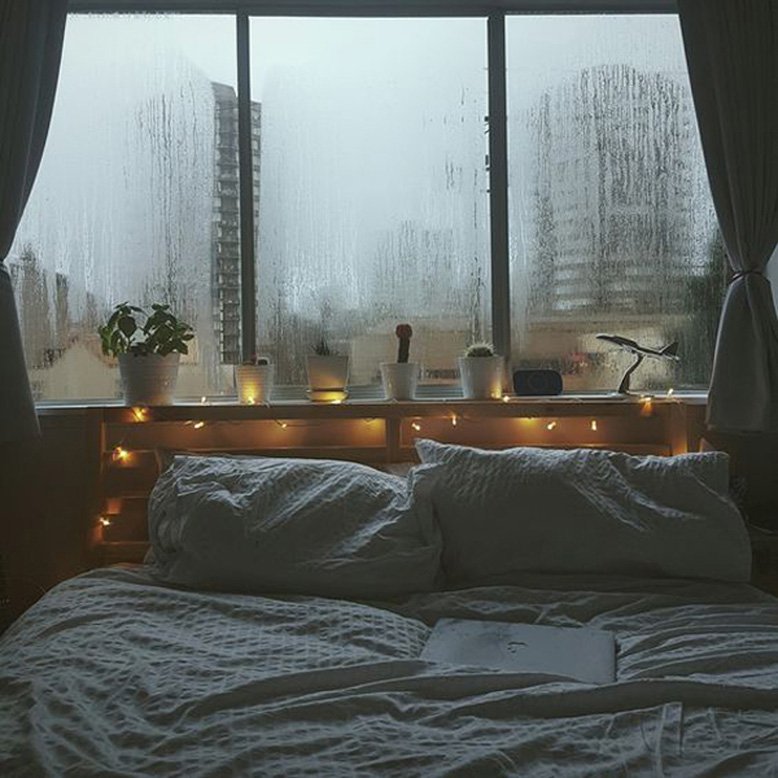
There are so many ways to make any room in your home cozy, but here are some ideas to get you started -
- Lighting makes a huge difference and will make or break how cozy your rooms are! Opt for natural light, lamps and candles over harsh overhead lighting.
- If you have an extra large room, break up your space into different sections using different groupings of furniture.
- Throw blankets and pillows! Make sure they are readily available and use them often.
- Fill your space with things you love - pictures of your family, things you’ve gathered throughout the years, and family heirlooms. If you decorate with things you love, chances are you’ll love being in the room.
via 2Minutes With
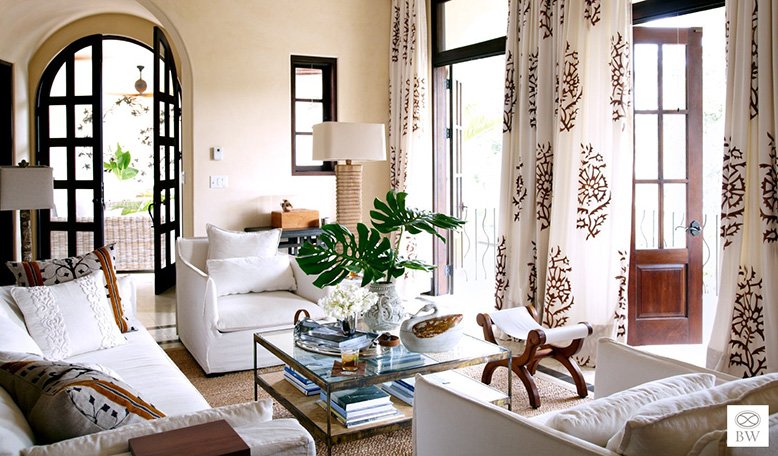
via Beth Webb
What have you done to make your home more cozy?
|
like blog
|
 via
via 
