Baby Girl Nurseries

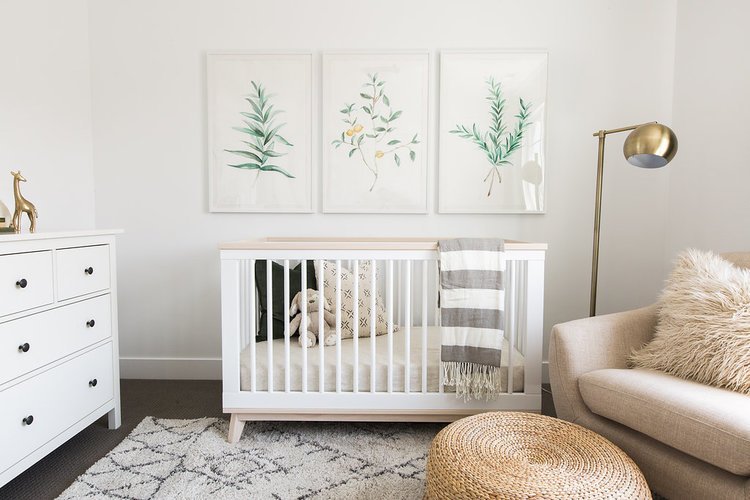
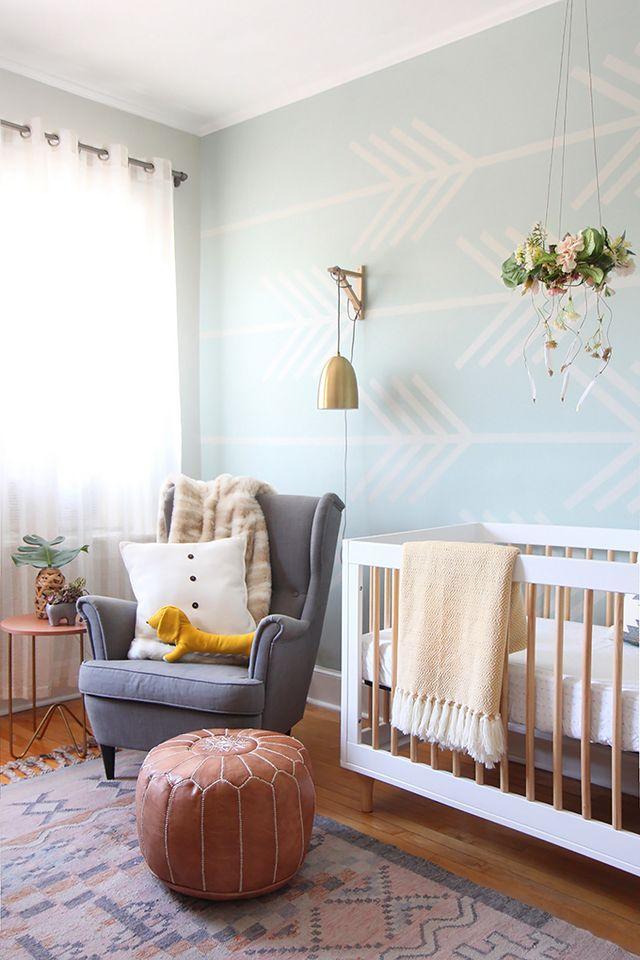
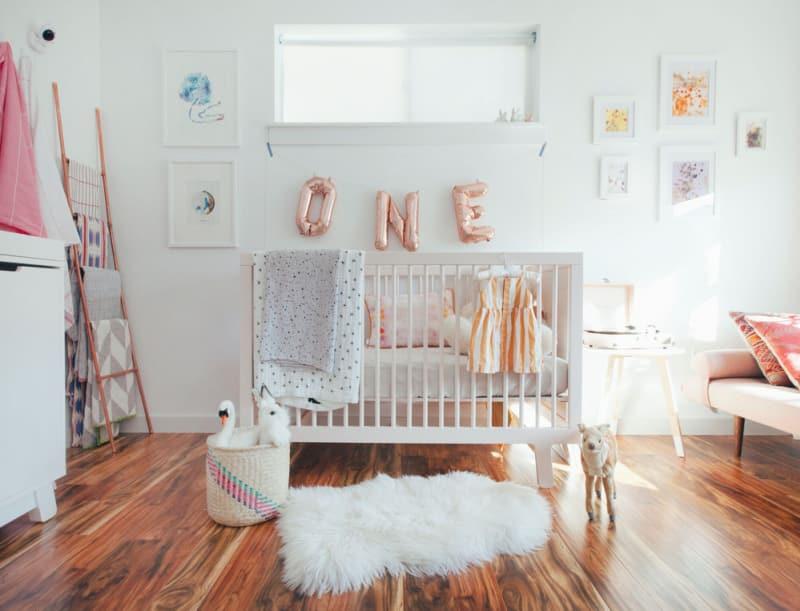
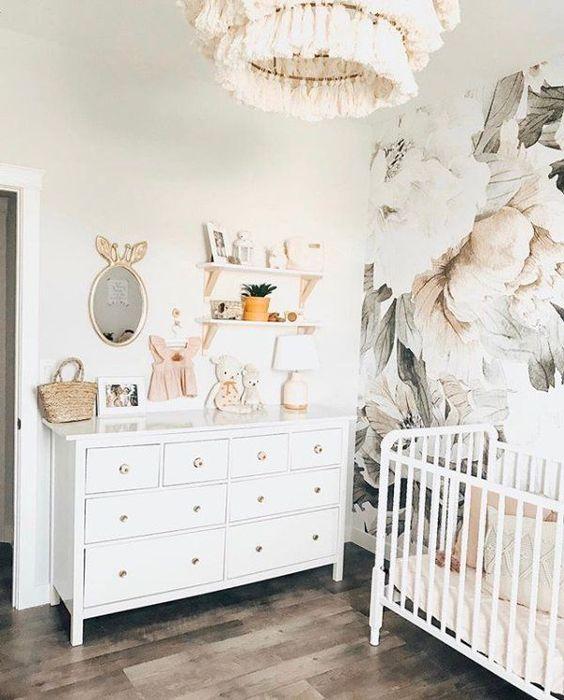
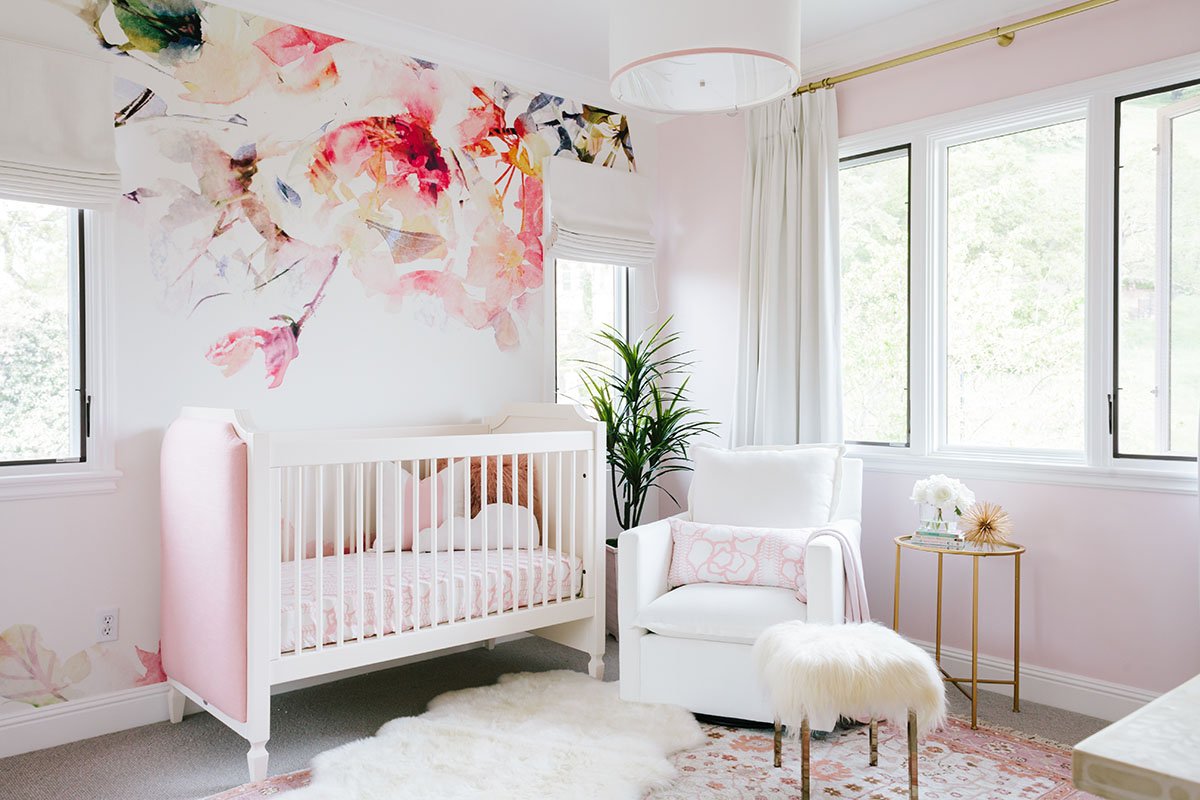
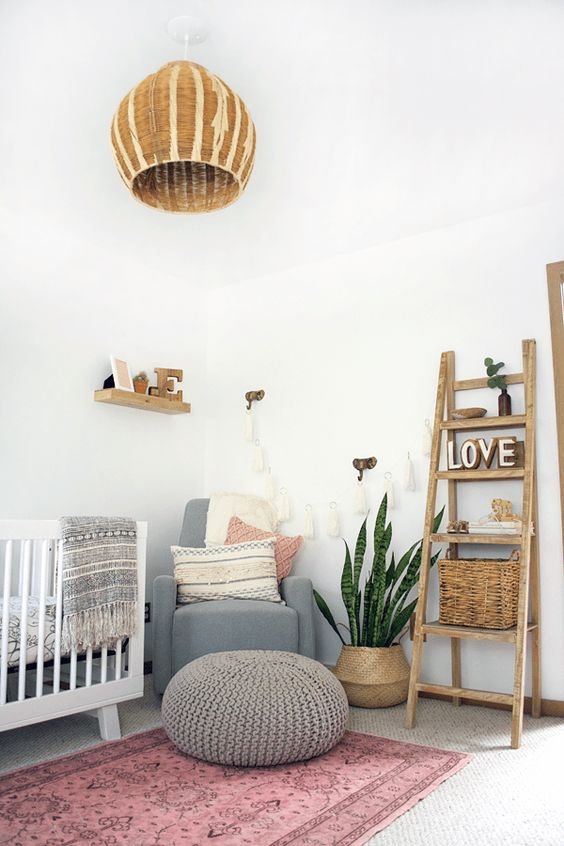
We are getting ready to welcome a baby girl to our family next month! I'm due in October, and I realized yesterday that I need to get things going with our nursery situation ASAP. When I had my last baby we were living in a tiny apartment in Washington D.C., and our baby got less than a closet to call his own (3 kids in a 1,000 square foot apartment was challenging, at best!) Now, we actually have a dedicated nursery and I can't wait to get decorating! I'm planning out paint, wallpaper, furniture, etc, and here are some of the beautiful baby girl nurseries I'm using as inspiration....
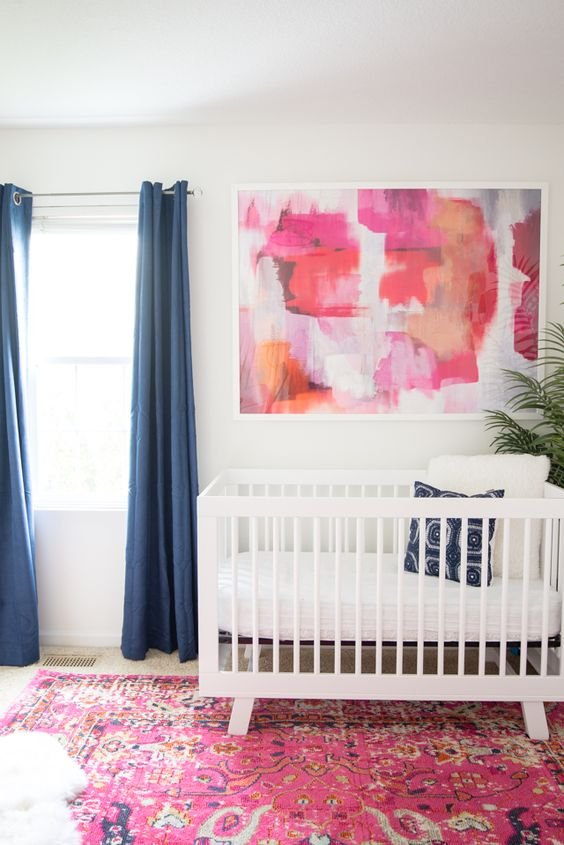 via pinterest
If you're in the baby market as well, check out R.C. Willey's great selection of nursery furniture!
|
like blog
|
Cozy Throw Pillows

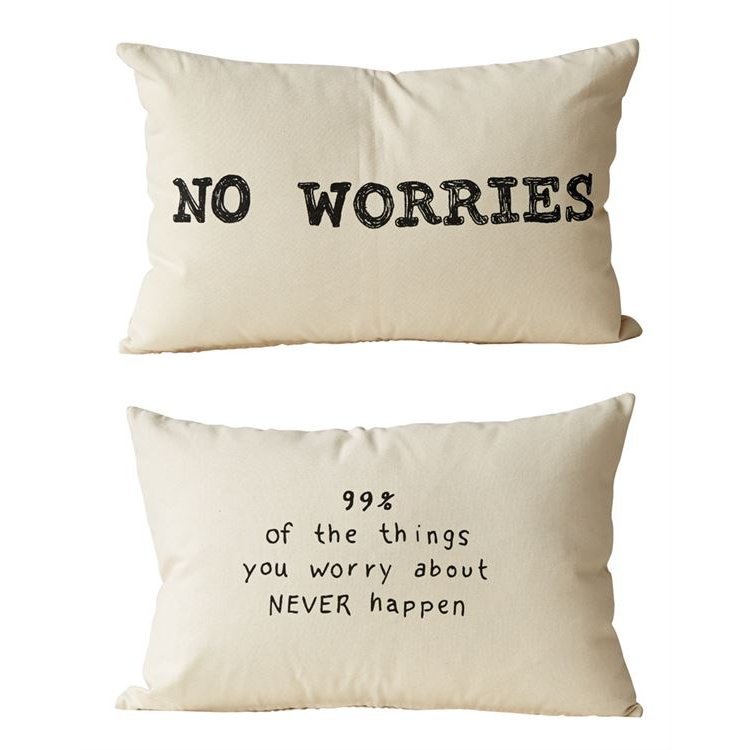
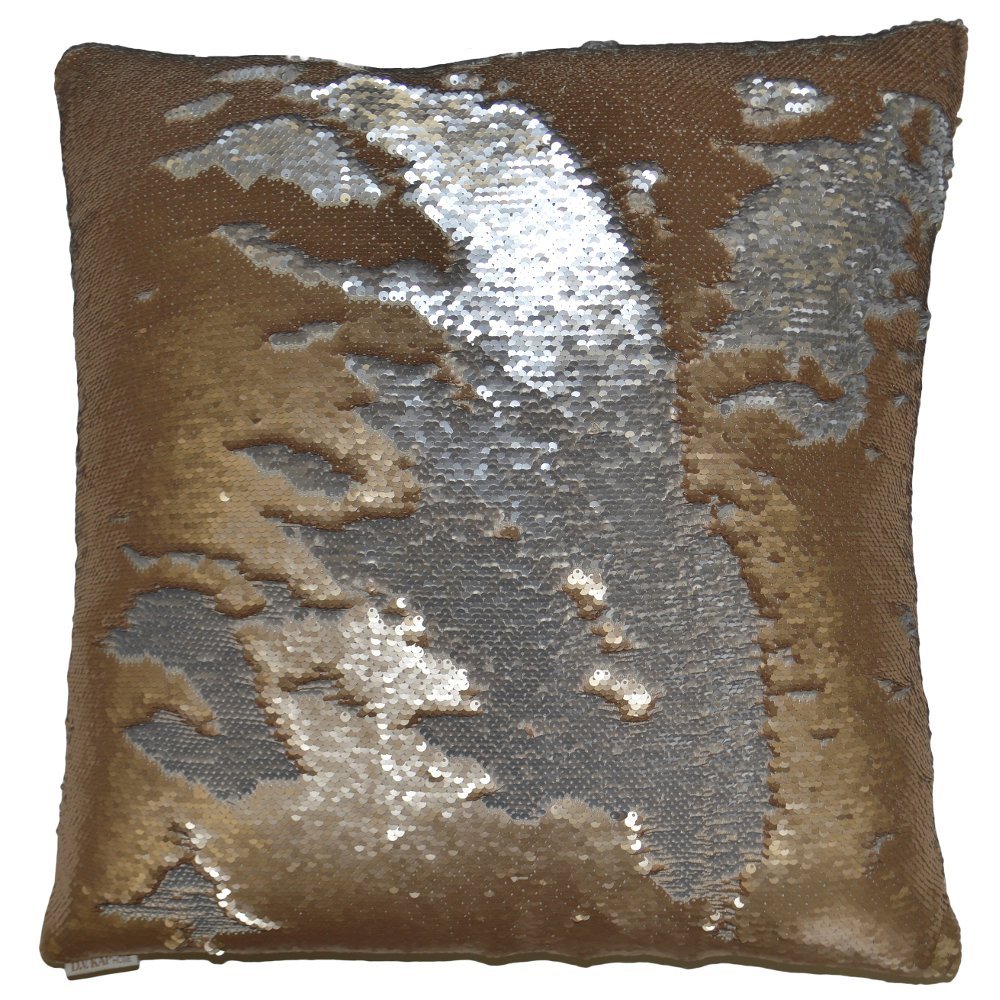
Can I let you in on a little secret?? Everybody knows that RC Willey carries furniture, electronics, and appliances...but did you know they carry awesome accessories like throw pillows too? I bet you didn't! Truthfully, I almost forgot my own self. I've been scouring the internet for throw pillows and having no luck, and then it's like a light bulb went on and I thought to check RC Willey (duh! I write blogs for them! How come I didn't think to look there sooner?) The thing is, they aren't just kind of okay either---- they are really, really gorgeous! And even better- they are available online!
Fall is quickly approaching, and I'm looking forward to throwing a bunch of cozy, neutral throw pillows on my sectional- and RC Willey has so many that fit the bill! I'm loving so many of them, that I'm having a hard time making decisions! Check out some of my personal favorites.....
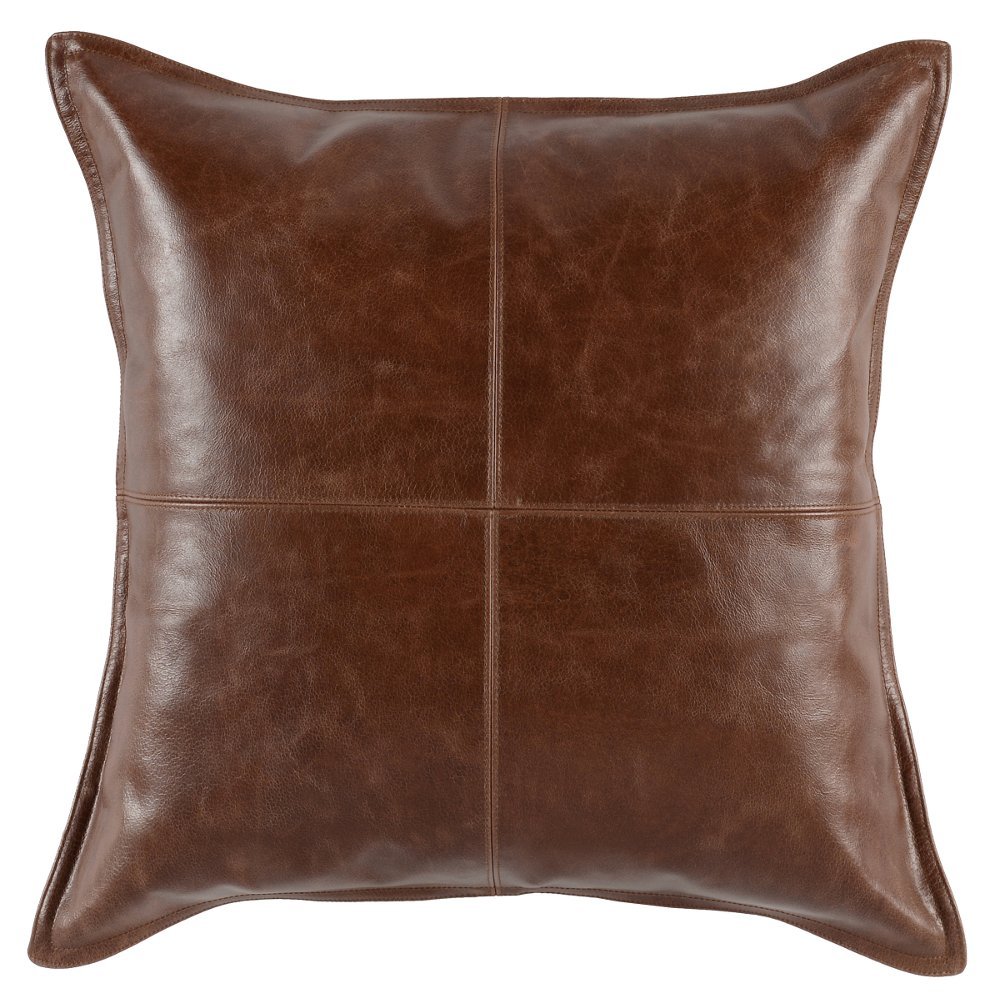
Kona Brown Pieced Leather Throw Pillow
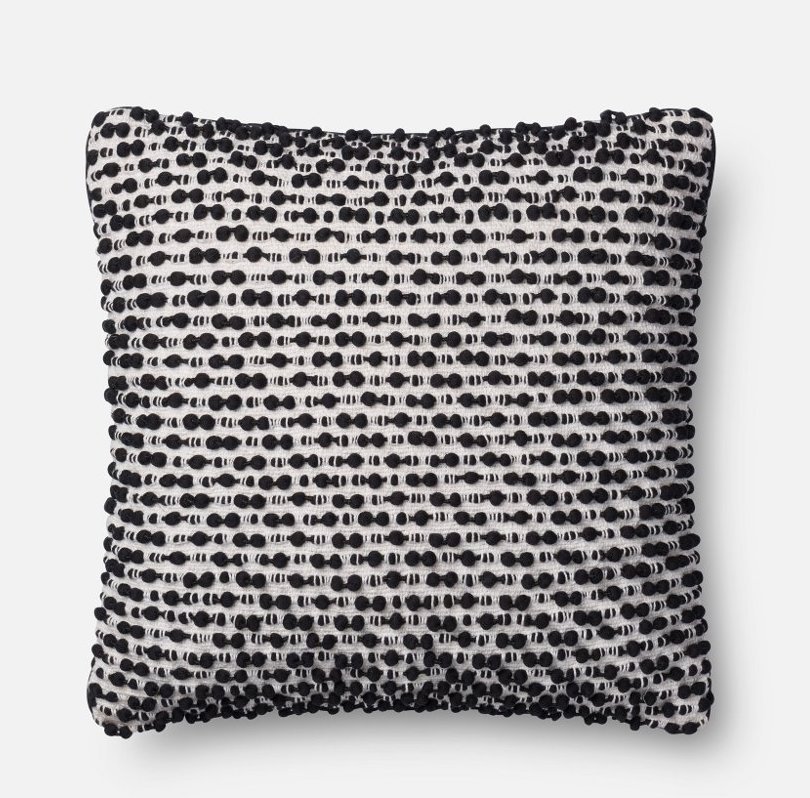
Magnolia Home Furniture White & Black Throw Pillow
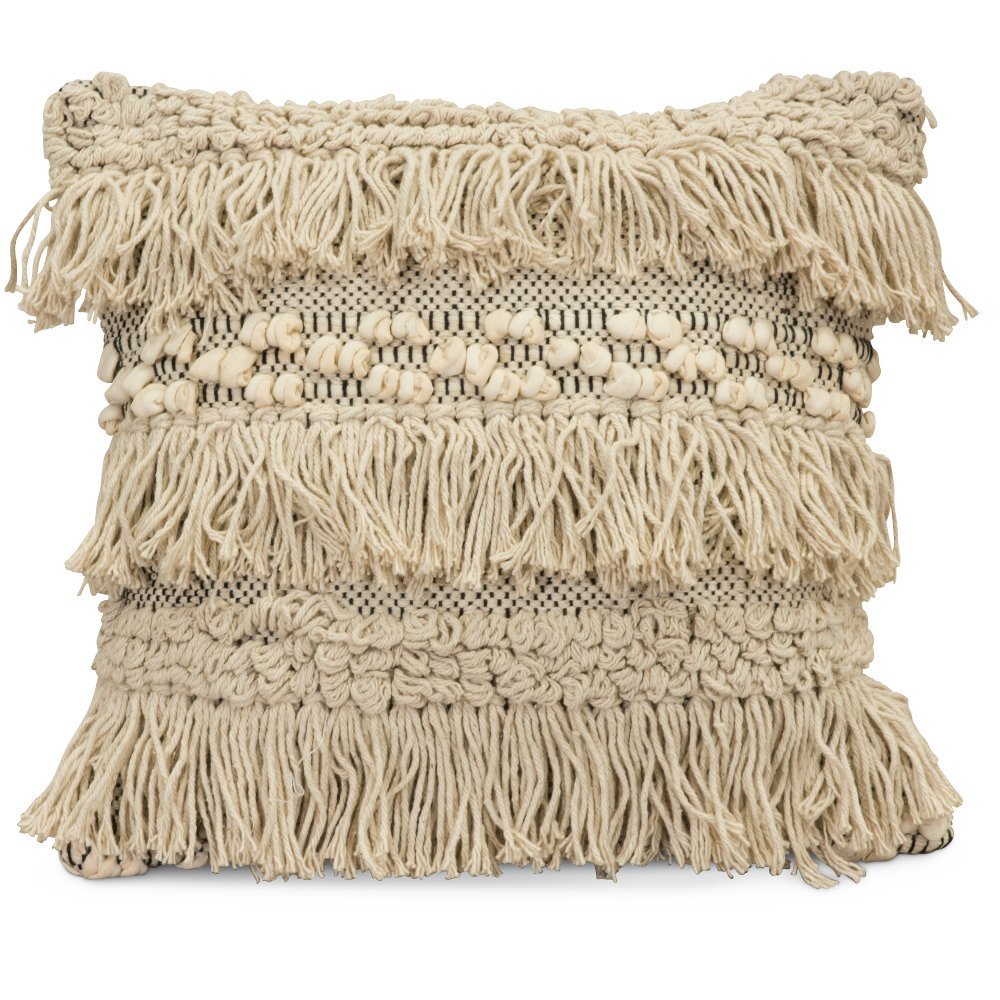
Neutral Moroccan Style Throw Pillow
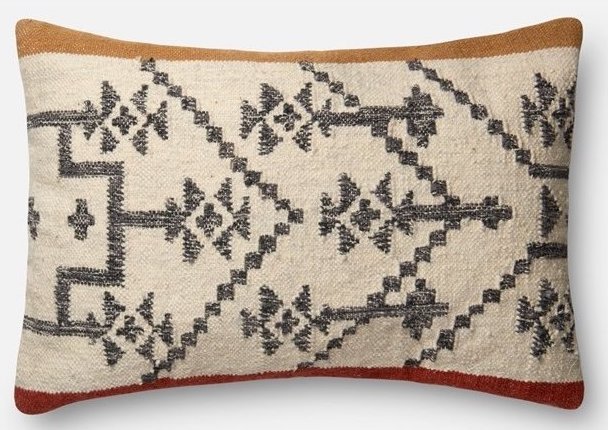
Camel & Rust Wool Rectangular Throw Pillow
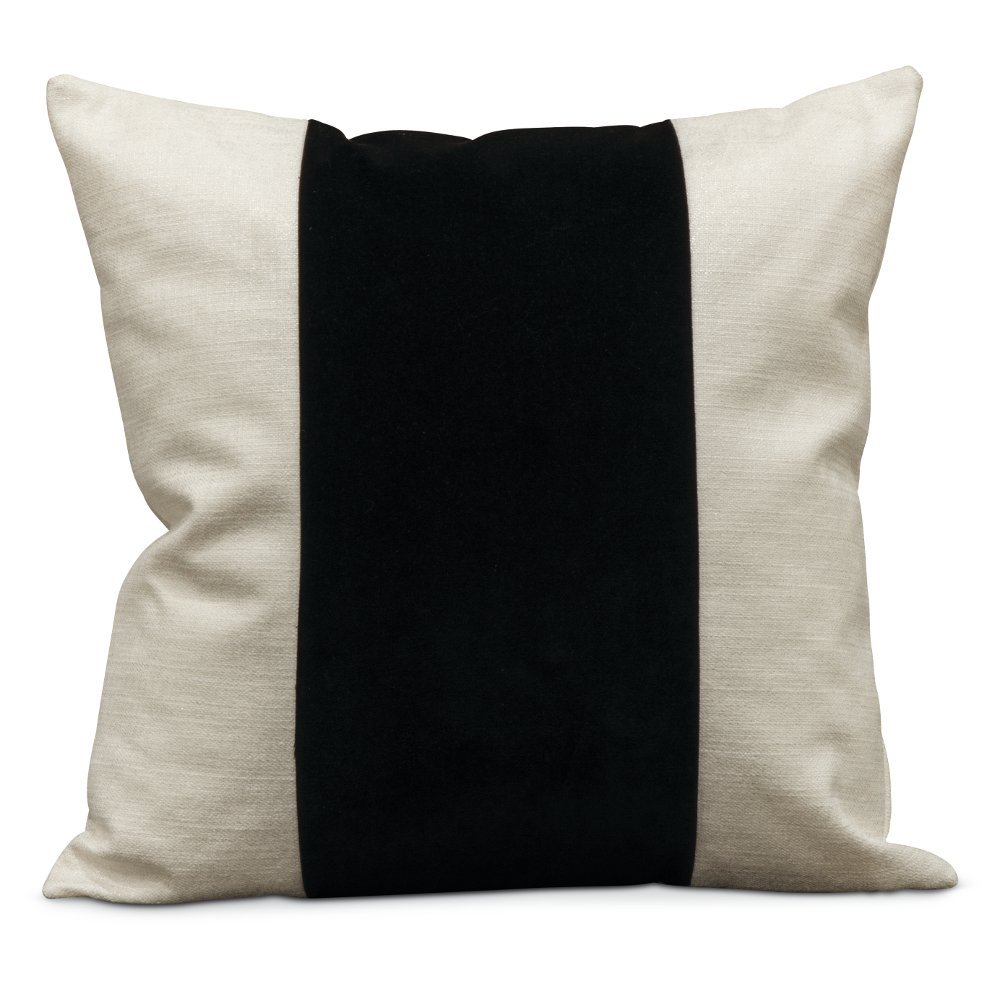
22" While Throw Pillow with Black Band- Franklin

Multi Color Rectangular Wool Throw Pillow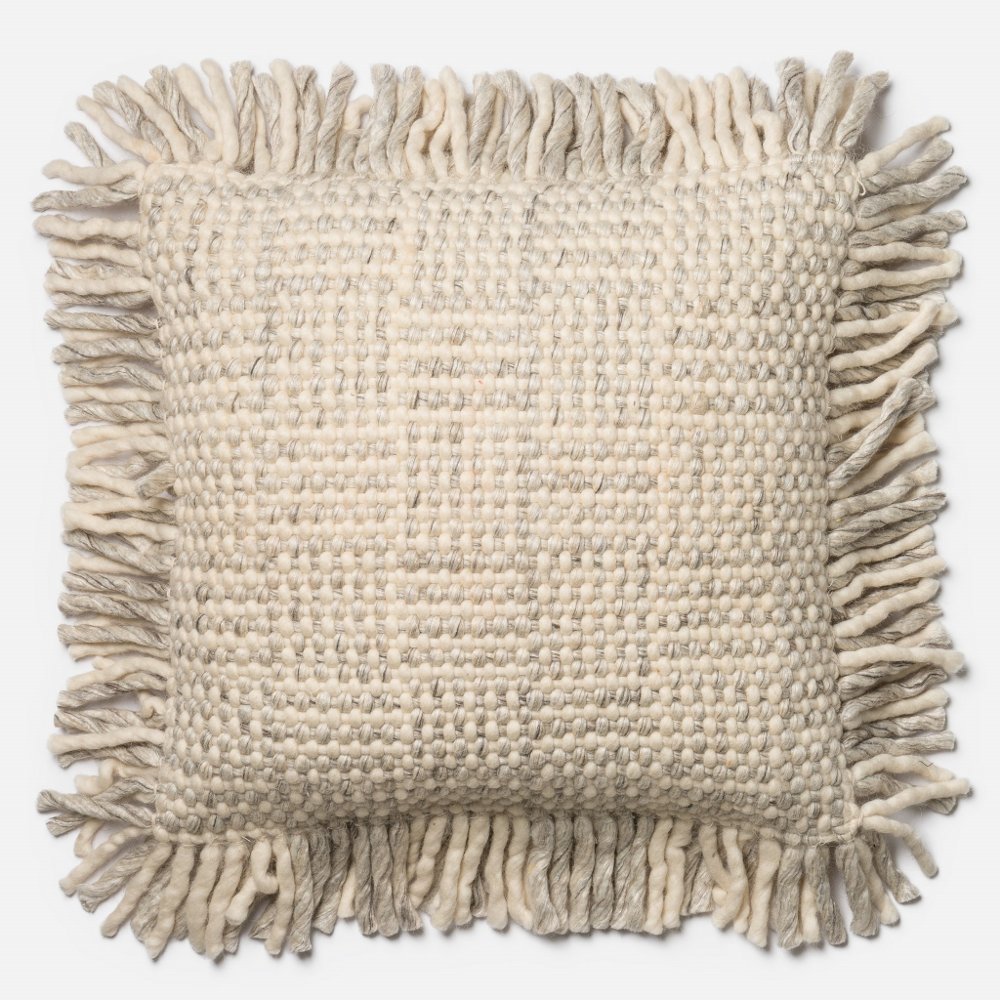
Magnolia Home Furniture Gray & Ivory Throw Pillow
Check out all of RC Willey's throw pillows to find your own favorites for a cozy fall!
|
like blog
|
How to Organize Your Junk Drawer
I don't care how organized and put together you are; everybody has a junk drawer! Am I right? Your junk drawer may look a lot better than mine, but we've all got 'em. And the truth of the matter is, most of our junk drawers could probably use a little tender love & care, or maybe even a total refresh. If it looks like a bomb exploded every time you open your junk drawer, this post is for you! Here are some simple steps that will help you create an organized, beautiful looking multi-use drawer in 20 minutes or less....
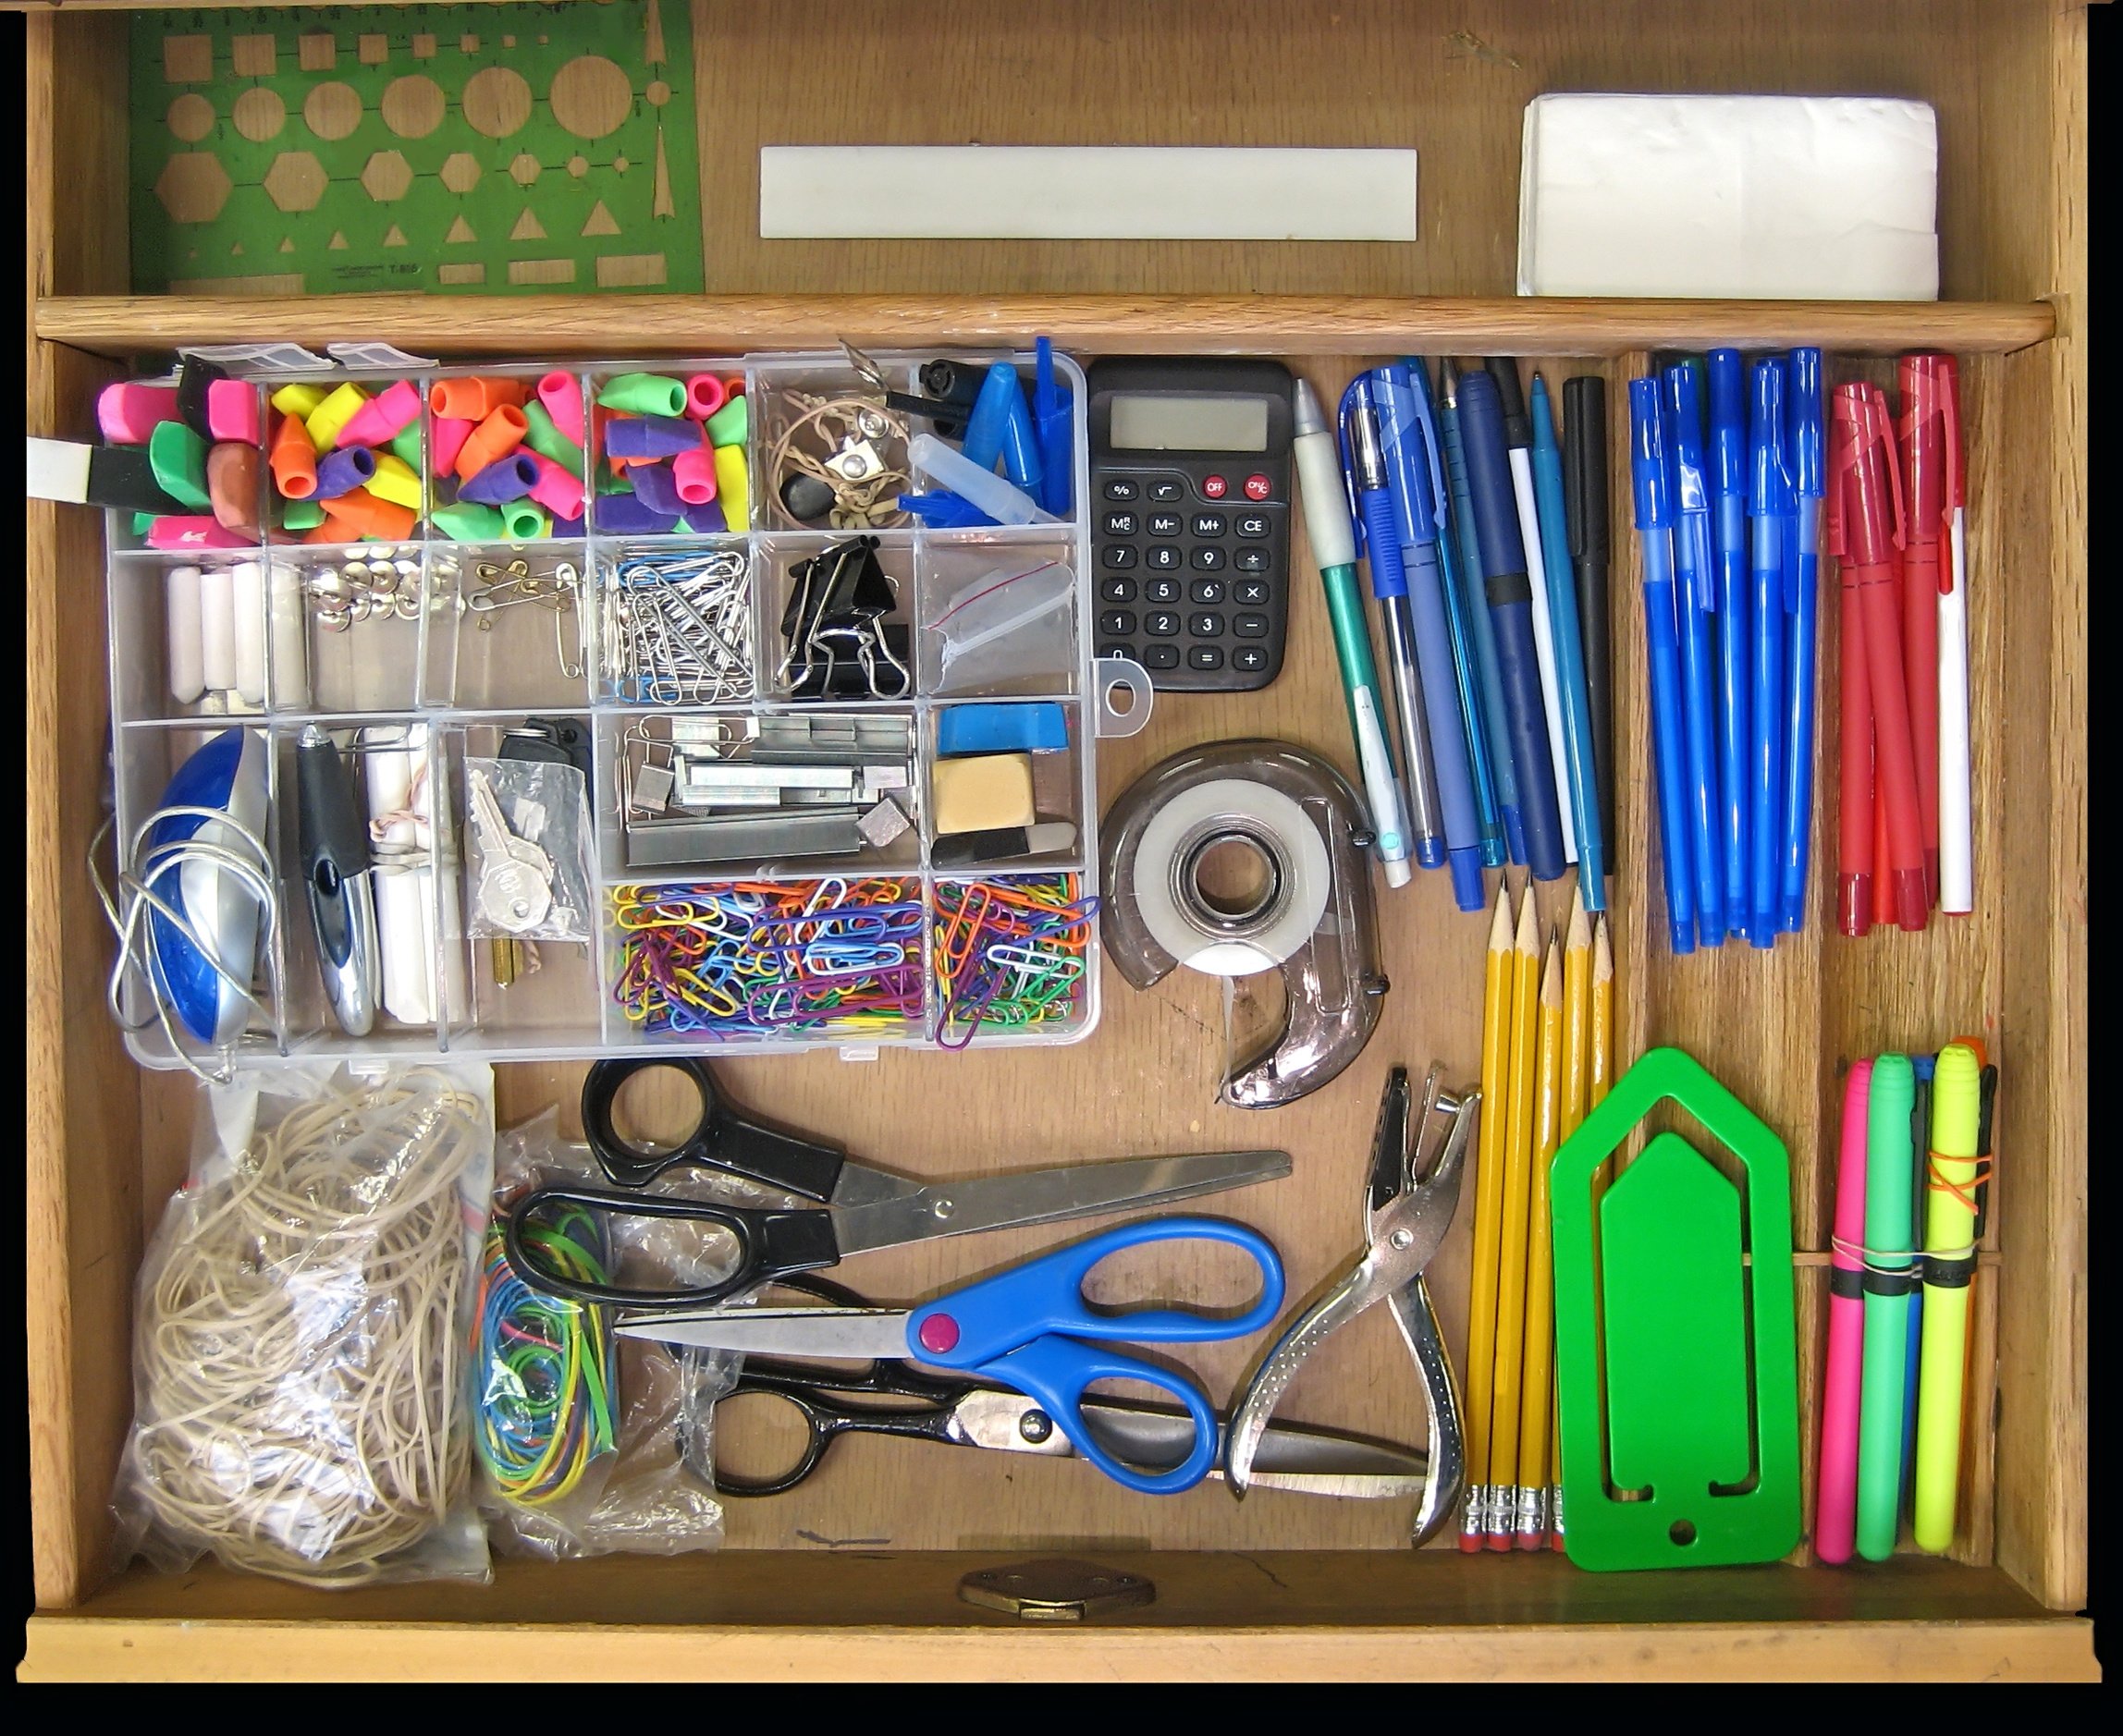
1. Empty everything out
The only way to properly clean out your junk drawer is to dump all of the contents out. Every last thing. Once everything is has been unloaded stop for a moment and admire your drawer's emptiness.
2. Dust or vacuum the drawer
Before you start loading items back in, make sure you are starting with a clean slate. Grab a dust cloth, or a vacuum and clean that puppy out.
3. Throw half of the drawer's contents away
This might be a bit of an exageration, but I'm being pretty serious. There's a good chance there are lots of loose papers, take-out menus, junk mail, etc that can go straight to the garbage. Also, if you have items in there that you haven't looked at or used in a year, throw them away immediately- you don't need them!
4. Sort the leftover items into similar groupings
Start making little piles. Put all of the post-it notes together, all of the pens together, glue sticks, markers, keys, etc.
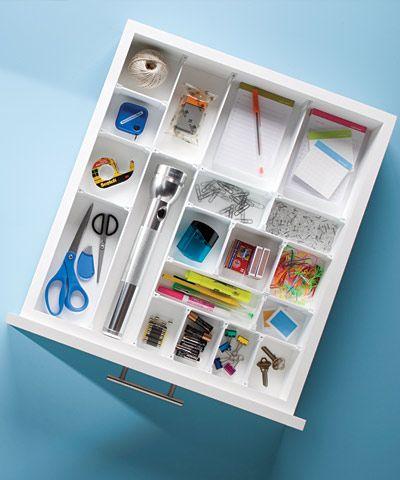
5. Invest in some organizers
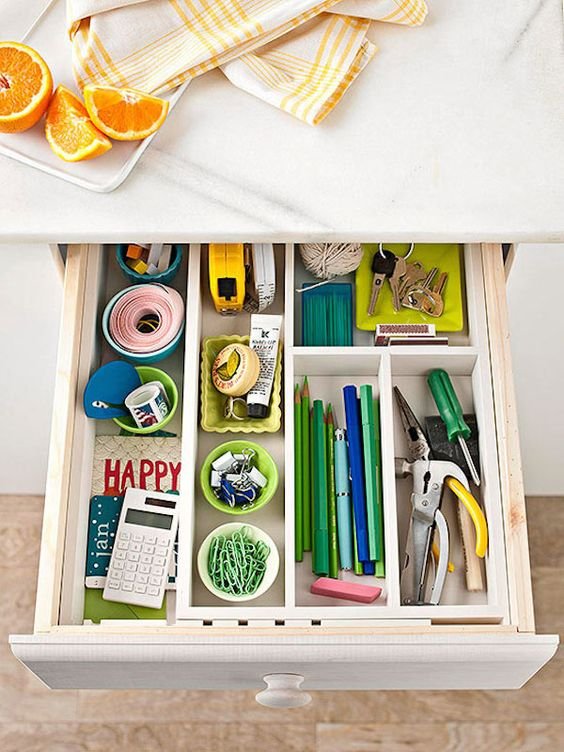
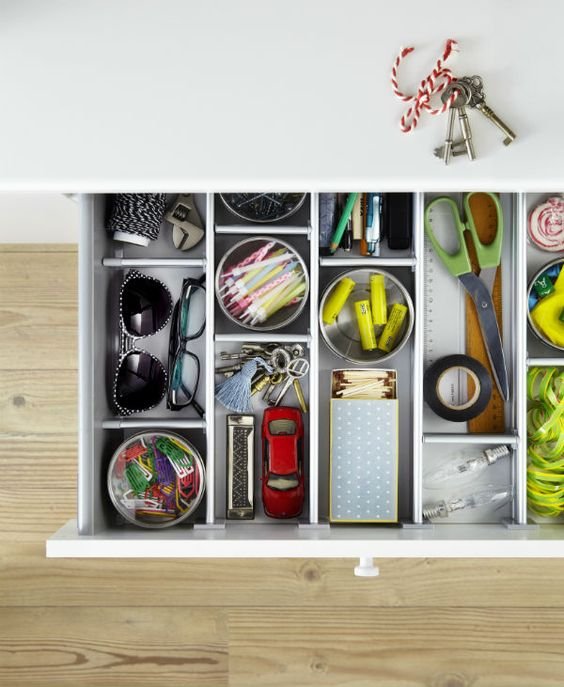
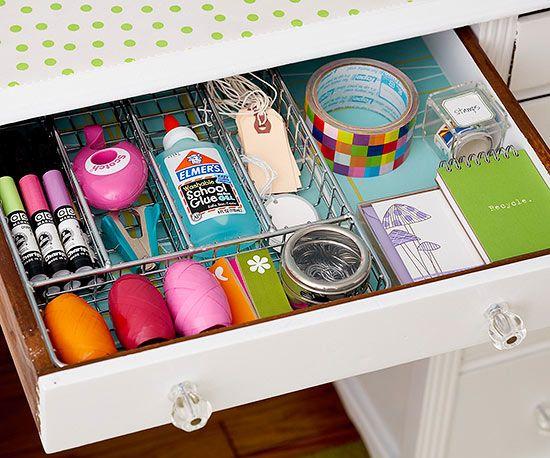
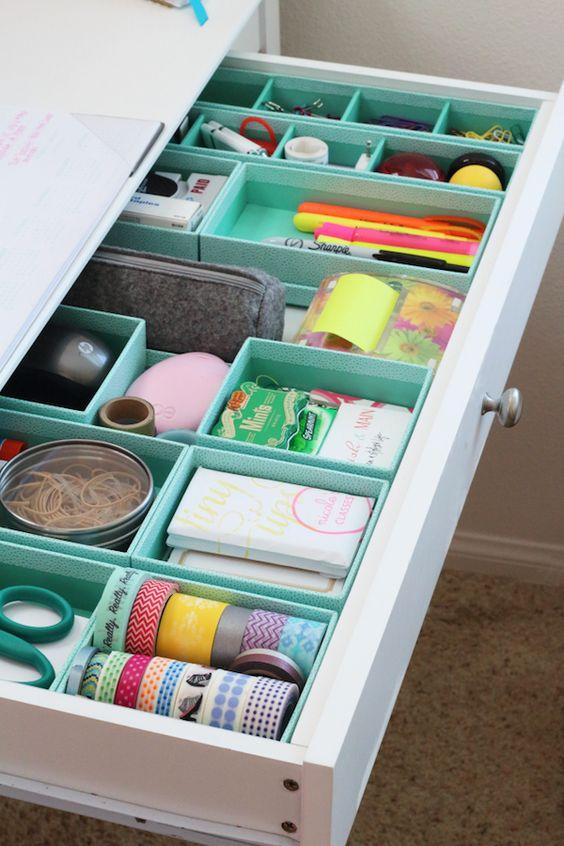
This is CRUCIAL. Every single time I've ever tried to organize a drawer without organizing bins or aids of some sort, the project has completely failed after a week tops. They don't have to be fancy or expensive, but they DO have to be functional. Organizers will be a game changer when it comes to keeping your junk drawer from getting junky!
6. Put it all Together
It might be a junk drawer, but that doesn't mean it can't look pretty! Here are some examples...
|
like blog
|
Recipes With Peaches

If you haven't figured it out by now, I may or may not have a borderline unhealthy relationship with peaches. Geez, I just can't get enough of them, especially when they are fresh this time of year! I mean, is there anything better? I don't think so. I'm currently finding a reason (and amazing recipes!) to incorporate my fresh peaches into every meal of the day, and thought I'd share! Here are some of the recipes I've made and loved, or that I'm planning on trying in the next week or so.....
Tomato, Peach & Corn Salad via Two Peas And Their Pod
Grilled Peach & Mozerella Salad via A Bountiful Kitchen
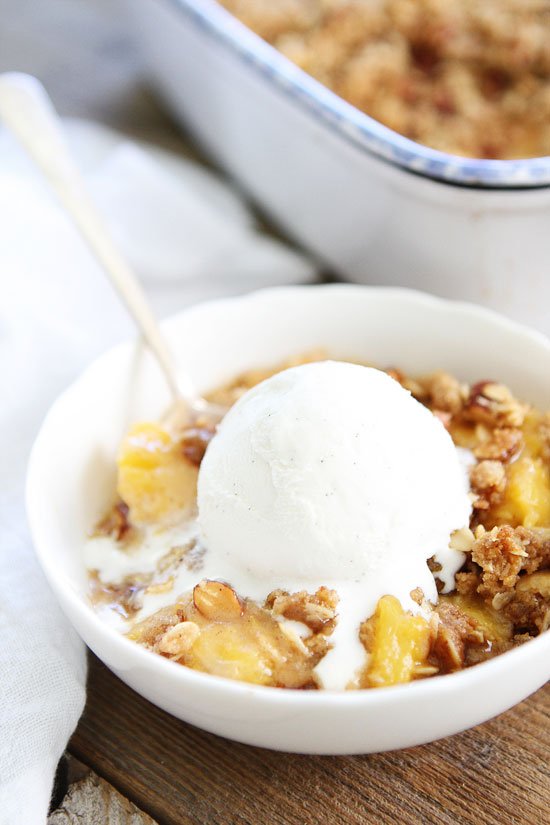
Peach Almond Crisp via Two Peas and Their Pod

Summer Peach & Balsamic Pizza via Love & Olive Oil
Fresh Peach Salsa via Lemon Tree Dwelling
Baked Peach & Blueberry PanDaddy via Traeger
Summer Peach Pie via Pink Pistachio
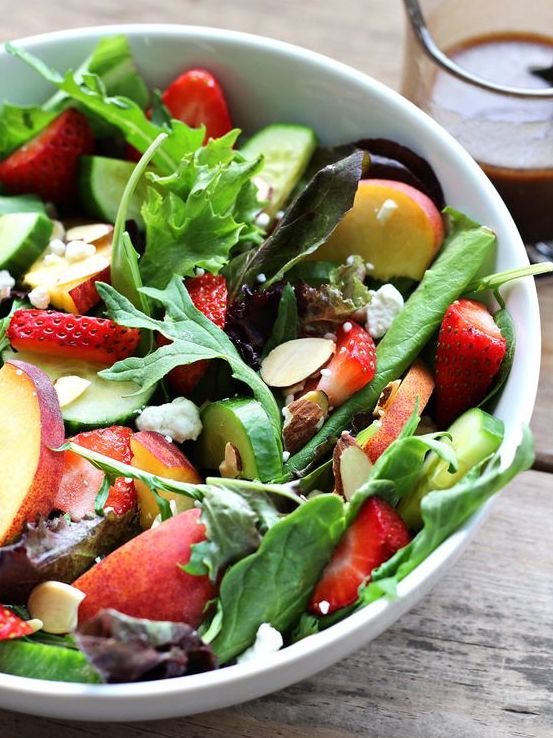
Strawberry Peach Salad via Love Grows Wild
ENJOY!!!
What are your favorite Recipes with peaches?? I'd love to hear!
|
like blog
|
Why You Need Two Refrigerators

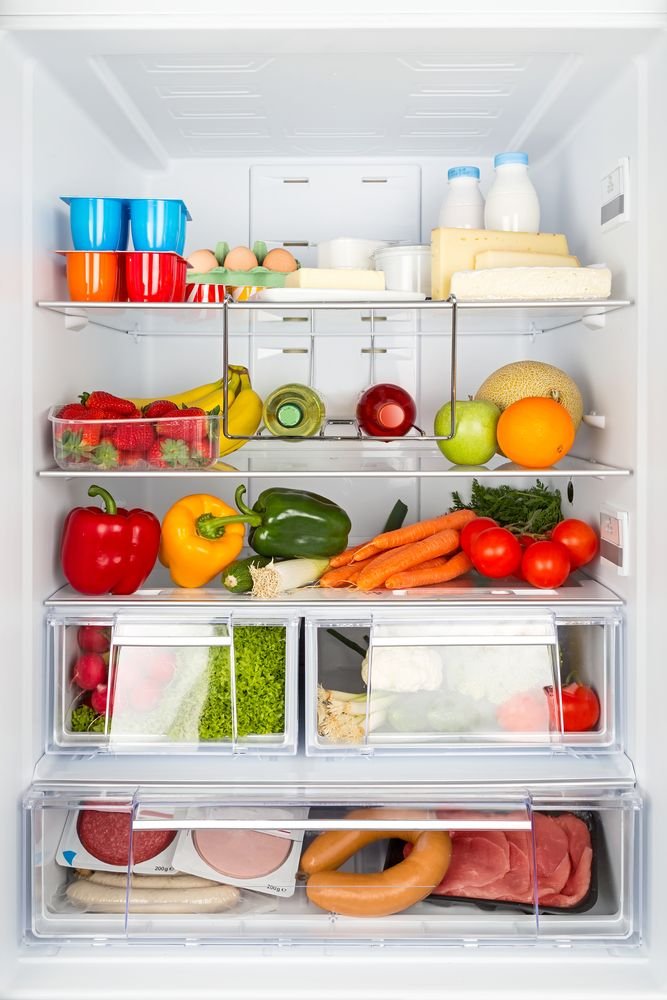
While having two refrigerators might sound excessive, I'm here to tell you that it's not! We bought our house, remodeled the kitchen, and instead of selling the refrigerator the house came with, we decided to stick it out in the garage. BEST DECISION I'VE EVER MADE. Seriously, you guys! It feels like such a huge luxury, and now I utter to myself on the daily, "How did we ever live without two fridges?!" Two working refrigerators has made my life SO much easier, and here is why you should take advantage of the opportunity should it arise....
1. You Can Stock Up at the Grocery Store
Two refrigerators has been a game changer when it comes to grocery shopping! Costco has never been easier! Instead of buying only two gallons of milk knowing I'll most likely be back to the store in a few days, I can now buy four or five and store a few in the garage fridge! Same goes for produce, meat, eggs, etc. It's so nice to be able to buy food we will need for the next couple of weeks- my grocery store trips have decreased significantly!
2. Hello, Freezer Meals!
I don't know about you, but my regular freezer is chuck full of stuff like frozen fruit, corn dogs, chicken nuggets, ice cream, etc. There isn't room for much more! Having a freezer in my garage allows me to plan ahead! I've started doubling a lot of the dinners I make and then throwing one of them in the freezer- I'm getting a nice little stock pile of freezer meals and that makes this busy mama's heart sing!
3. It Makes Entertaining Much Easier
Having a party? Hosting house guests over a weekend? Do you always end up with a group of hungry teens at your house on friday night? Having two fridges has never been better! You can have cold beverages and easy to serve food on hand at all times, while still maintaining your regular fridge in the kitchen.
What reasons do you love having two refrigerators in your home??
If you're sold now, check out RC Willey's huge selection of refrigerators- it will be one of the best gifts you've ever given yourself! And bonus! I just noticed there is a fridge sale going on right now!
|
like blog
|
How to Prepare for a Natural Disaster

I live in Richmond, Virginia, and it turns out that we have a category 4 hurricane headed for our area of the country this weekend. YIKES. The storm projections continue to change. We aren't sure how directly impacted we will be, but one thing is certain- we will be seeing a LOT of rain, and possibly power outages and flooding, at best. Costco was literally out of water this morning, and the food on the shelves at the grocery store is flying fast, so it's safe to say most people are in full blown panic mode!
Natural disasters are a tricky beast. The threat of them instills a lot of fear and panic, but there is something to be said for taking the time to get PREPARED. No amount of preparation can stop a dangerous storm or disaster from coming, but in the end it could make a huge difference when it comes to your physical well being, but maybe just as importanty, your mental well being- working to get prepared will help you to remain calm knowing you've done everything in your power to take care of yourself, your family, and your home.
Are you prepared for a natural disaster in your area? The CDC is an incredible resource to help you plan and prepare for the worst when it comes to any type of natural disaster you can think of! Depending on where you live, check out the links below to help you get a head start on emergency preparedness...
Preparing for a Hurricane or Tropical Storm
|
like blog
|
Design Trends That Need To Go Away Forever

Most of us can all look back on some of the design decisions we've made over the years and cringe in regret, horror, and disbelief. "What in the world was I thinking??!" "How????" It happens to the very best of us. And news flash: it's just going to keep happening!
Elle Decor posted a great article last month, 30 Outdated Home Trends That We Hope Never Come Back. It made me laugh because they were so spot on---- so many trends highlighted that were cool from the 70's to the early 2000's that just need to go away now forever! For a fun read, go and check it out.
And just for fun, a few of my favorite outdated trends they cover:
- Wallpaper borders
- Mason Jar Mania
- Granite Overload
- Bean Bag Chairs
- Popcorn Ceilings
- Vertical blinds
What are some trends of old that you hope stay gone forever??
|
like blog
|
How To Pick The Right Paint Color

Raise your hand if you've ever picked out what you thought was the perfect paint color, only to realize it was a gigantic mistake AFTER painting an entire room said color. ME!!!!!! We were painting the nursery for my first baby, and I was so excited I couldn't stand waiting or testing or doing any of that silly prep work- so I found a beautiful gray, painted the whole thing- and BAM. With the direction the windows were facing, and the way the sunlight streamed into the room, I woke up the next morning horrified to find that the nursery was no longer gray.... it was purple! I kid you not. I learned my lesson. Now, I never skip the research stage of selecting paint. Here are 3 tips to help you in your quest to find the perfect color for your next paint project...
1. Do Your Research Online
Cruise pinterest, blogs, and your favorite designers websites. There is a treasure trove of information out there, and shame on you if you don't take advantage of all the work others have done before you! Not all paint colors are created equally, and this will give you a good idea of colors that have worked for other people. If you want to paint a room white in your home, find a bunch of photos of rooms you love, and make a list of ten or so white paints. You can't assume that just because it worked for someone in a photo online it will work in your space, but this gives you a great starting point.
2. Buy LOTS of Paint Samples
I can't stress this point enough! Sure, at $5- $7 bucks a sample, you might end up paying a little bit more than you'd like, but think of it as an investment. Especially if you are selecting a color for your entire home! Way better to waste $100 in samples, than $4,000 on the wrong color of paint! For our recent home renovation, I got about 10 samples of white paint, and I easily could have gotten more!
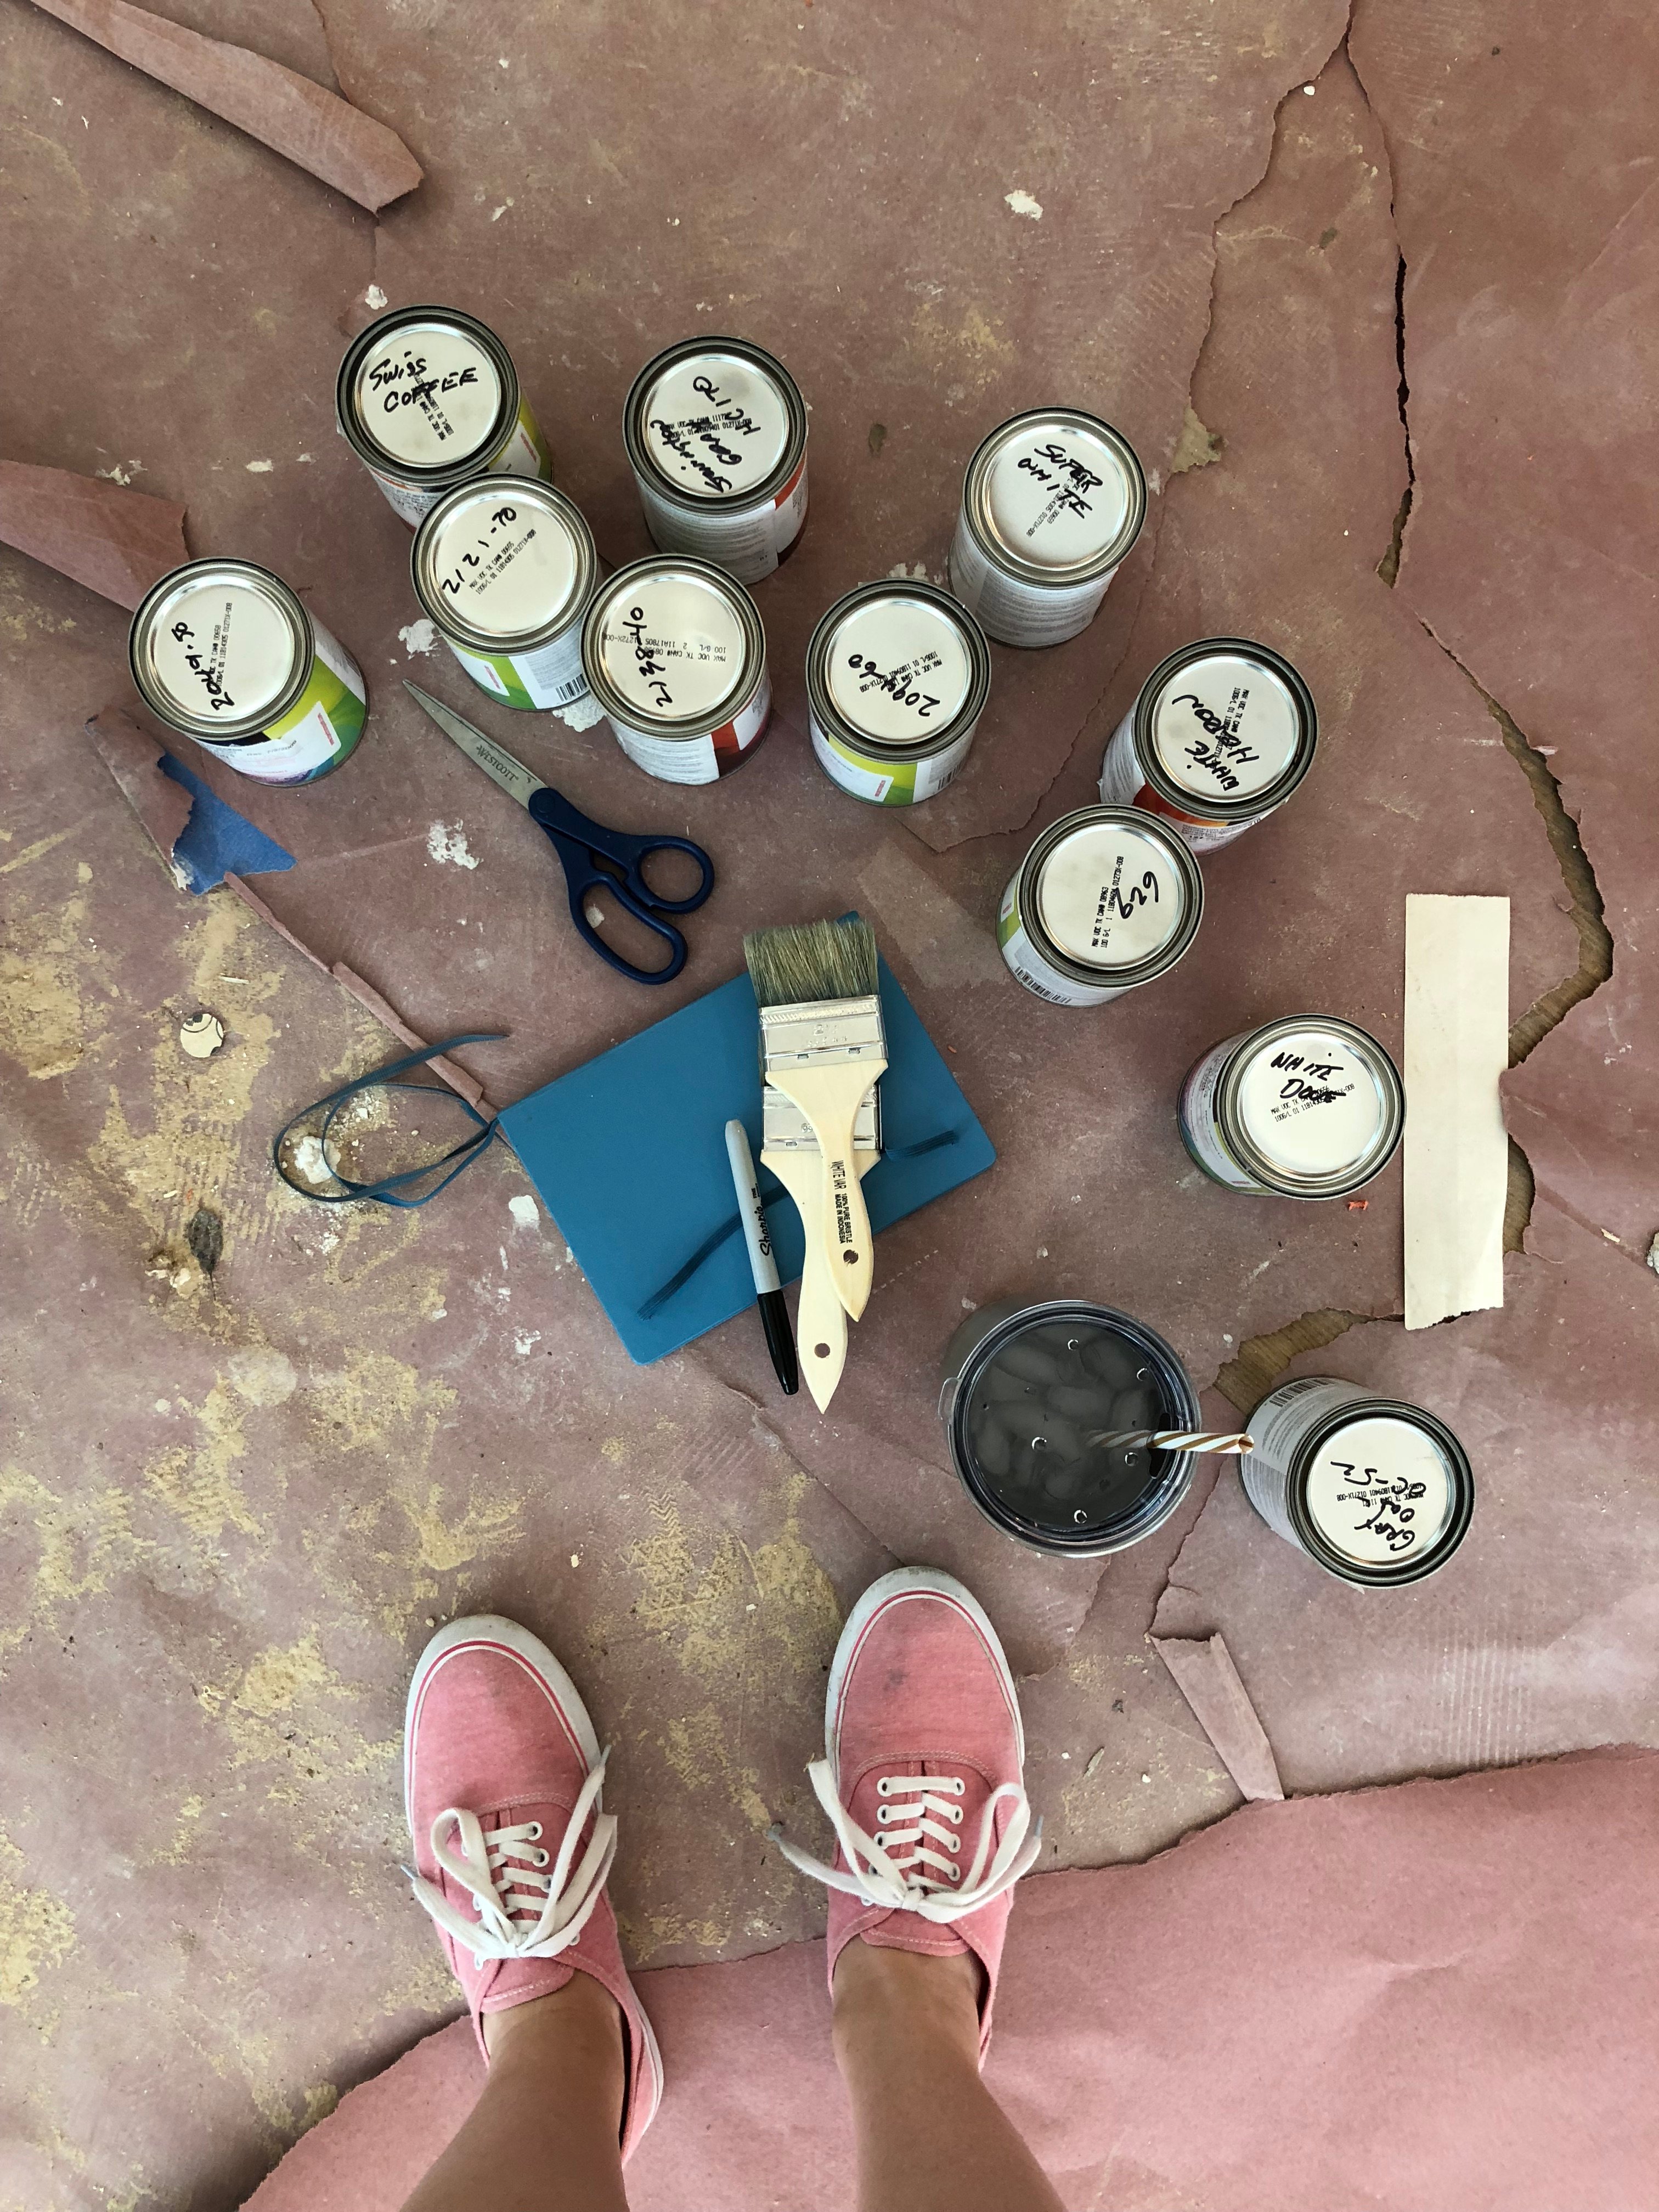
3. Paint Poster Boards and Hang Them Up in Your Home for a Few Days
This is a fun little project! Get a big white posterboard, and cut it into thirds. Then, paint each sample color on it's own piece of posterboard, let it dry completely, and then hang them up! Move them around to see how they look on different walls in the room, at different times during the day. Even if you think you've found the winner right away, be patient! Wait it out- you might change your mind seeing each color in different light. The more thorough you are, the better chance you have of getting it right the first time. I think testing for at least two to three days before making a final decision is best!
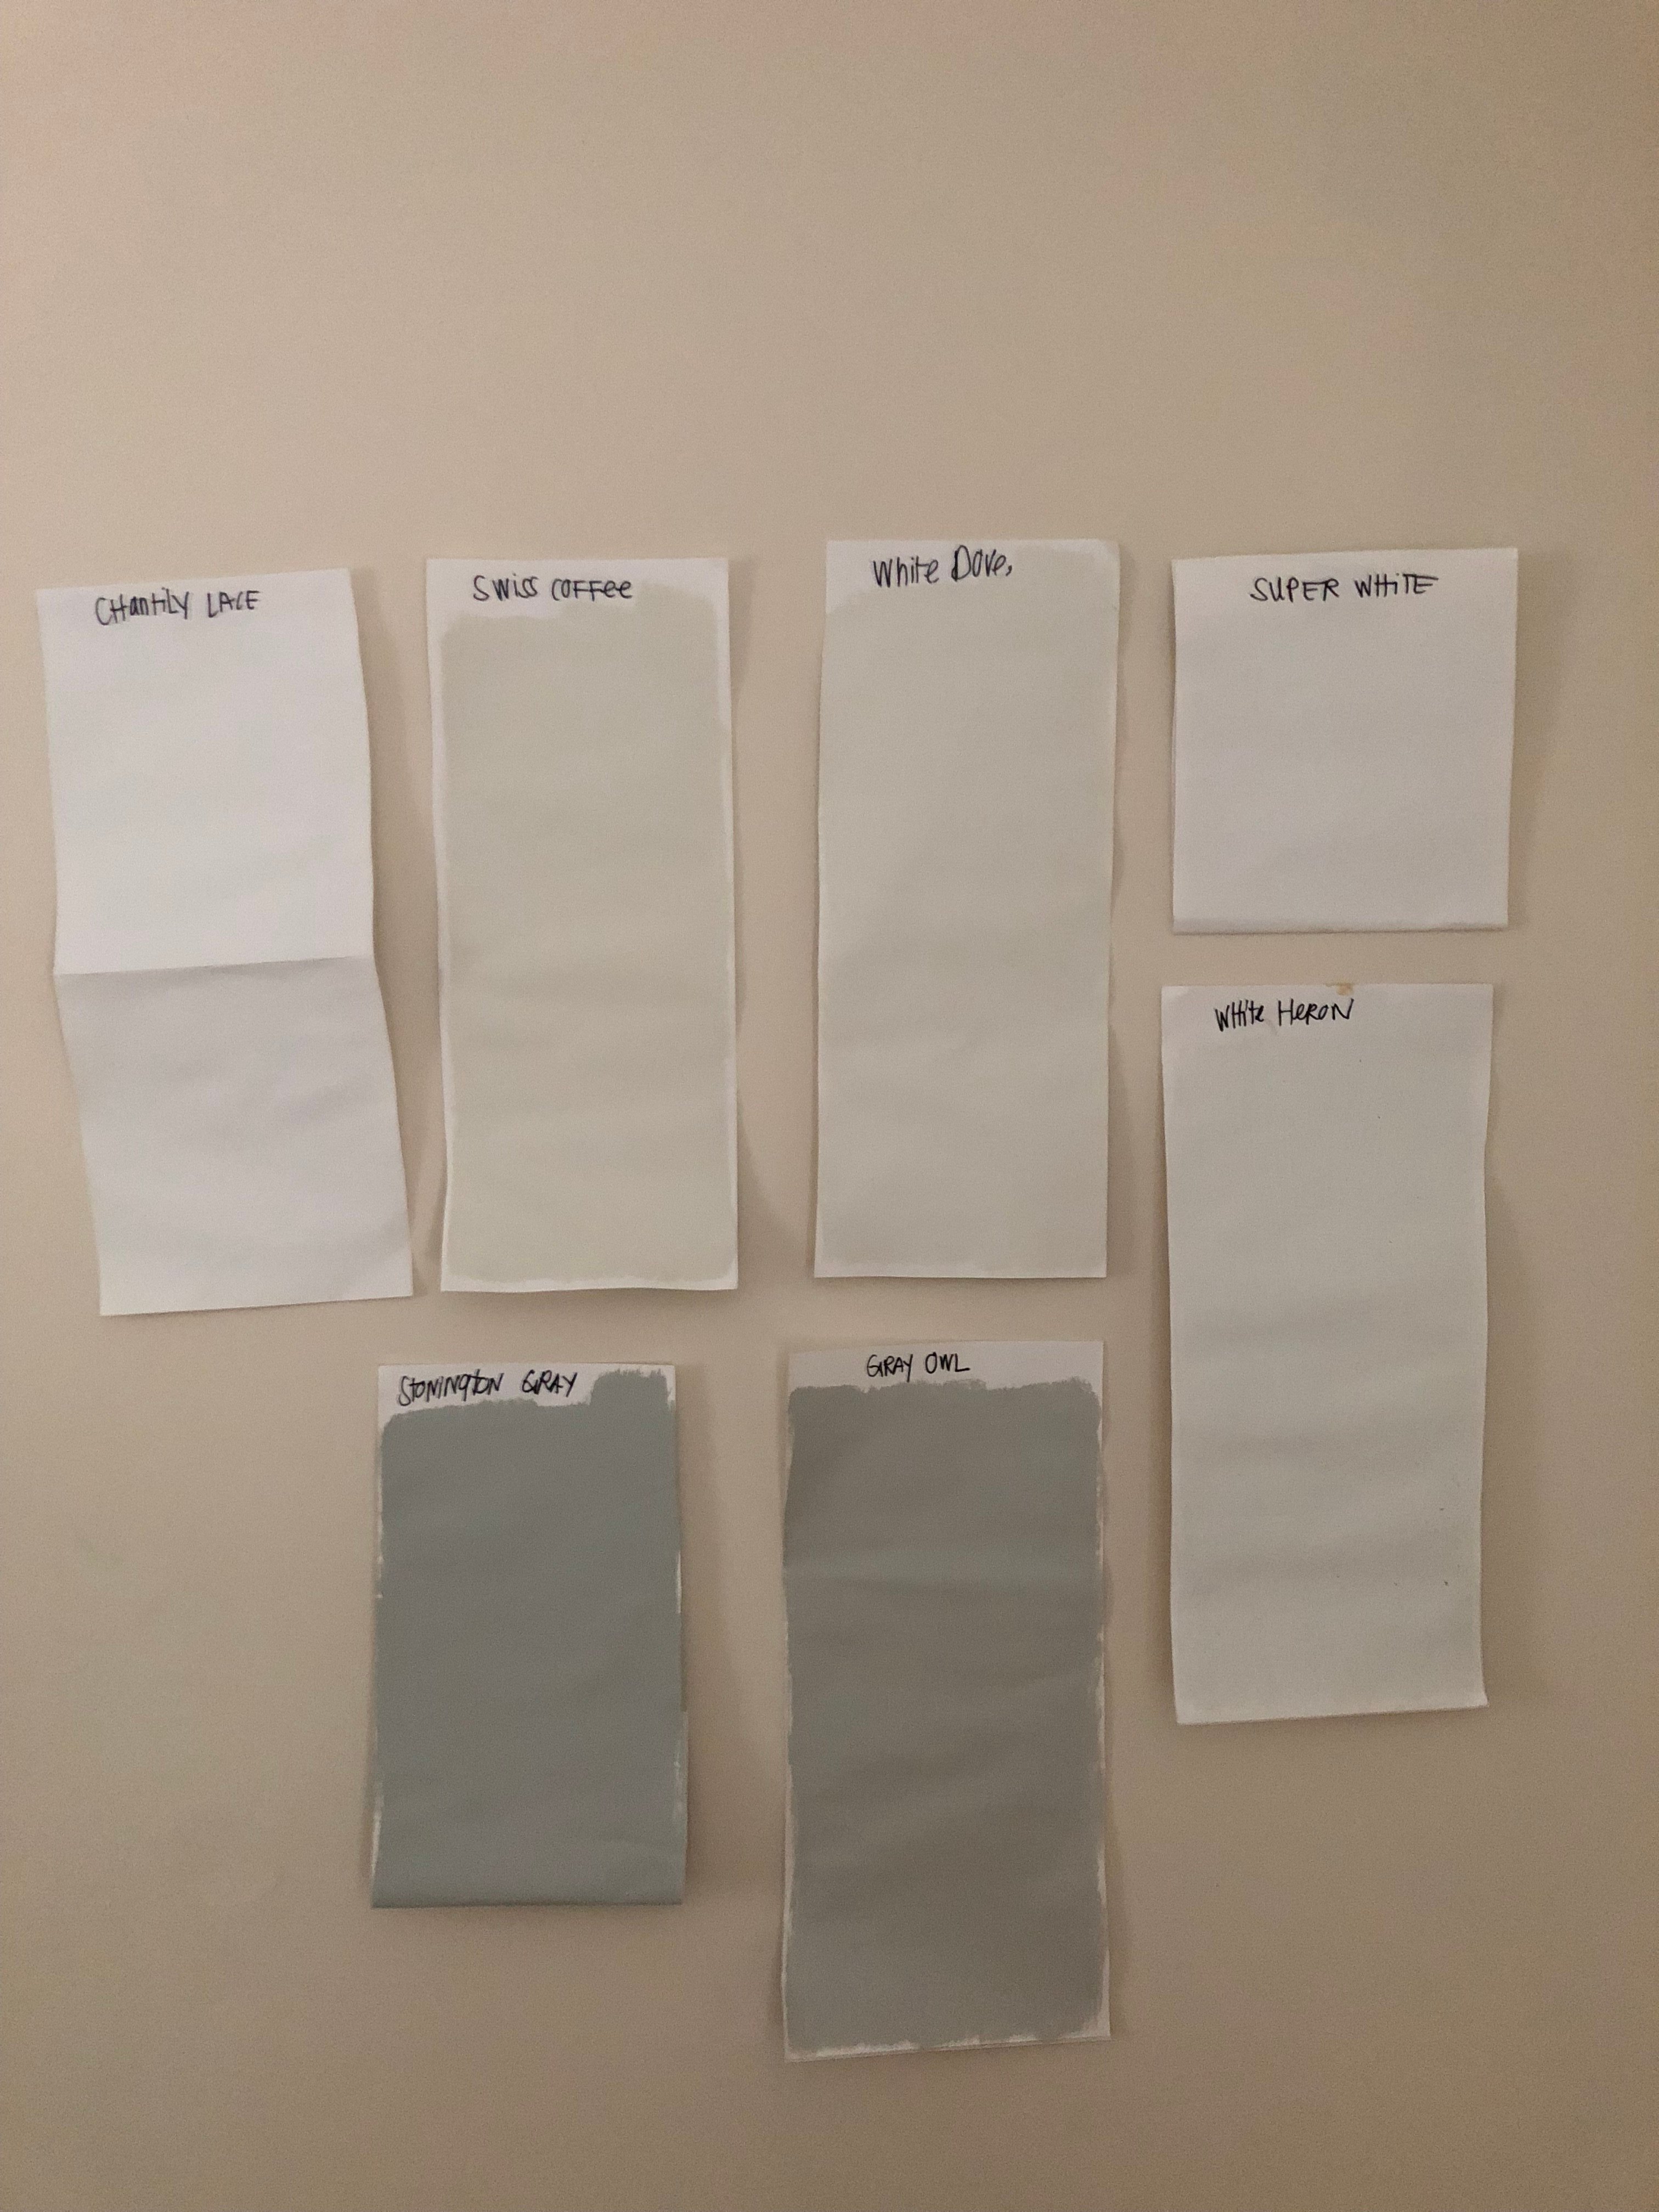
And there you have it- a fool proof way to make sure you've got the perfect paint color!!
|
like blog
|
The Very Best Chocolate Chip Cookie Recipe

Baking cookies is kind of my thing. In fact, some might call me a cookie snob. I prefer the term connoissuer instead. For years, I was convinced that I had the very best chocolate chip cookie recipe in all the land----- and then I tried these cookies I'm about to share with you. HOLY COW THEY BLEW MY MIND!!! 
I first tasted these babies over Thanksgiving break last year. We were in Kentucky visiting family, and my aunt's younger brother happened to be there. He is also a cookie guy- he even made this dough and transported it all the way to Kentucky in a cooler. It's that good, you guys! I think originally he started making the New York Times Chocolate Chip Cookie recipe, but I believe it's kind of evolved and he's made a few changes to it over the years.
There are three important things you need to know about these cookies:
1. You need a food scale. I know, I know, kind of annoying- but I swear that my getting the measurements exact it makes a huge difference!
2. You need a LOT of chocolate chips. You probably won't have them all on hand. 3 entire bags! Cacoa chocolate (at least 60% cacoa content), semi-sweet chocolate, and milk chocolate- all blended together to make the perfect trifecta of chocolate goodness. Using three different kinds of chocolate is a total game changer!
3. You need to have a LOT of patience. This is definitely the hardest part. The recipe calls to refrigerate the dough before baking for 24 (yes, TWENTY FOUR) hours!! This is not the recipe to make if you have a sudden chocolate chip cookie craving that you've got to give in to. Nope. These cookies require planning ahead. And just so you know, I've tested it out and I was shocked at how much more delicious these cookies were after the dough was refrigerated properly. I'm not sure how, but it really does make a huge difference!
And now, for the recipe you've all been waiting for....
New York Times Chocolate Chip Cookies
(adapted by Matt Call)
INGREDIENTS:
36 oz. of all-purpose flour
2 1/2 tsp. baking soda
1 Tbsp. baking powder
1 Tbsp. course salt
5 sticks (2.5 cups) unsalted butter
2 1/2 cups (10 oz) light brown sugar
2 1/4 cups granulated sugar
4 large eggs
4 tsp. natural vanilla extract
2 1/2 lbs bittersweet chocolate discs, at least 60 percent cacao content (I like to use 1 bag Scharffenberger semi-sweet chunks, 1 bag Ghiradelli semi-sweet chips and 1 bag Ghiradelli milk chocolate chips)
Course sea salt
INSTRUCTIONS:
1. Sift flours, baking soda, baking powder and salt in a bowl. Set aside.
2. Using a mixer fitted with paddle attachment, cream butter and sugars together until very light, about 5 minutes. Add eggs, one at a time, mixing well after each addition. Stir in the vanilla. Reduce speed to low, add dry ingredients and mix until just combined, 5 to 10 seconds. Drop chocolate pieces in and incorporate them without breaking them. Press plastic wrap against dough and refrigerate for 24 to 36 hours. Dough may be used in batches, and can be refrigerated for up to 72 hours.
3. When ready to bake, preheat oven to 350 degrees. Line a baking sheet wiht parchment paper or a nonstick baking mat. Set aside.
4. Scoop 6, 3.5 oz mounds of dough (the size of generous golf balls) onto baking sheet, making sure to turn horizontally any chocolate pieces that are poking up; it will make for a more attractive cookie. Bake until golden brown but still soft, about 11 minutes (depends on your oven). Remove from oven and immediately sprinkle lightly with sea salt. Transfer sheet to a wire rack for 10 minutes, then slip cookies onto another rack to cool for a bit more. Repeat with remaining dough, or reserve dough, refrigerated, for baking remaining batches the next day. Eat warm, with a big napkin.
ENJOY!!!!!
|
like blog
|
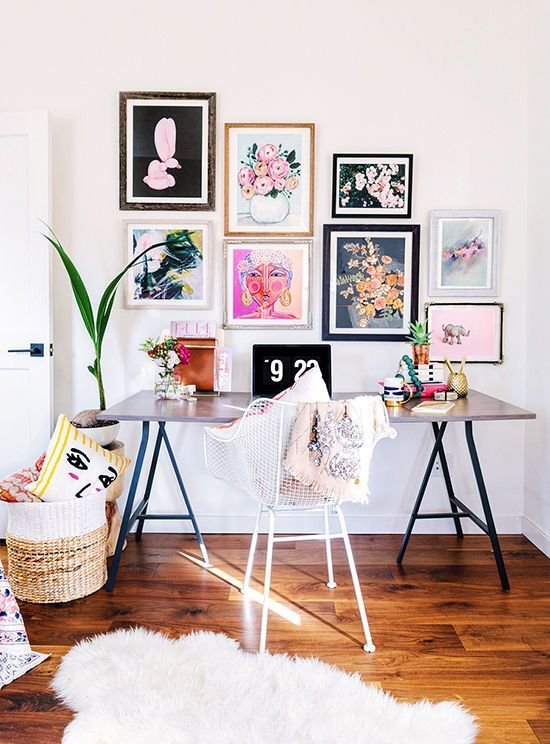
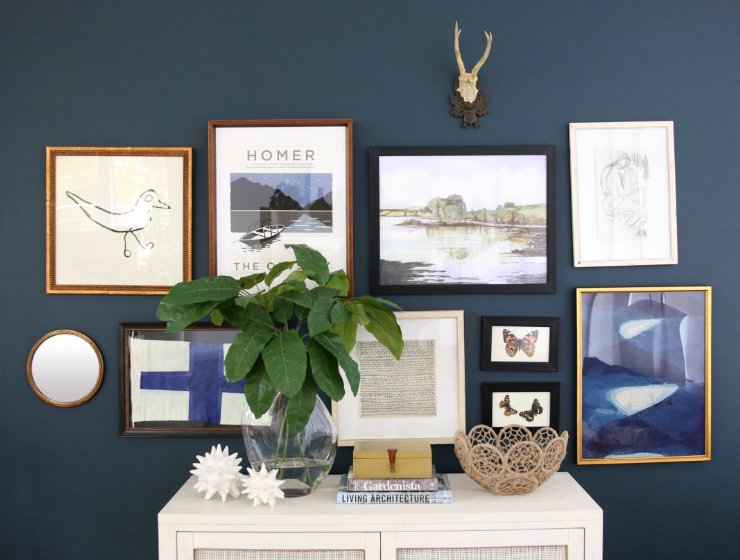
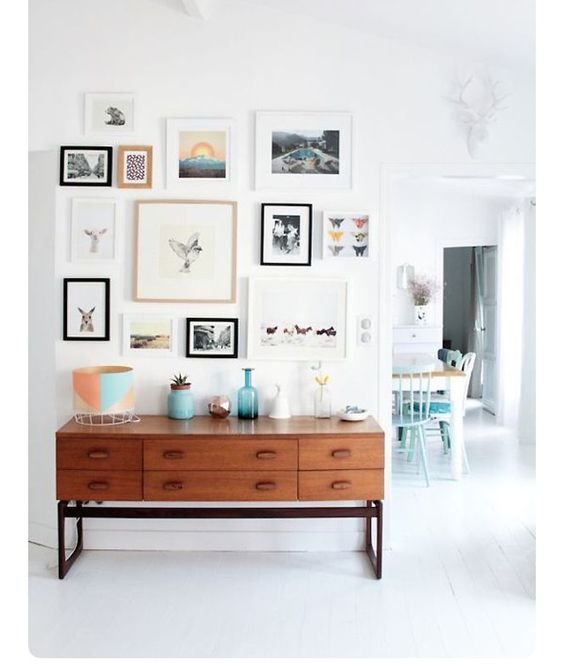
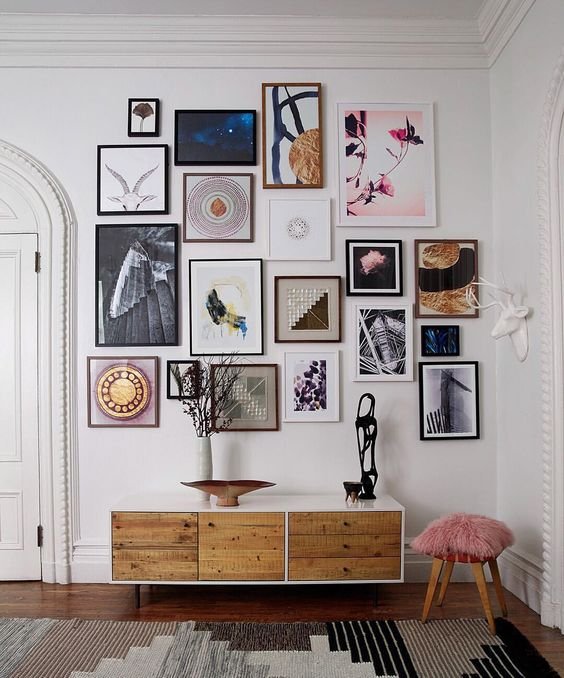
Pretty Gallery Walls

There is something about a well put together gallery wall that makes my heart sing! Sadly, all gallery walls are not created equally though. Anyone can throw a dozen picture frames on a wall and call it good, but it can be difficult to get it just right- looking complete without feeling too busy or nauseating. You know what I mean? It's tricky, at best.
While gallery walls have been deemed as "trendy" in the past, if you do it right, they can be timeless and classic and wonderful. Here are a few tips to get you started on creating an amazing gallery wall in your home....
- Don't stick to one media! Display a variety of art pieces- photographs, paintings, drawings, prints, etc.
- Curate your gallery wall over time. The best gallery walls aren't thrown together in a day. Be patient as you wait for your gallery wall to come to life.
- For a more cohesive gallery wall, stick to one or two colors for your frames.
- Start with one large anchor image, and work your way out from there. Incorporating large pieces of art makes a gallery wall feel mature and refined.
- Use 2-3" of spacing between art pieces. You don't want too big of a gap!!
Here are some beautiful examples of gallery walls that got it right!......
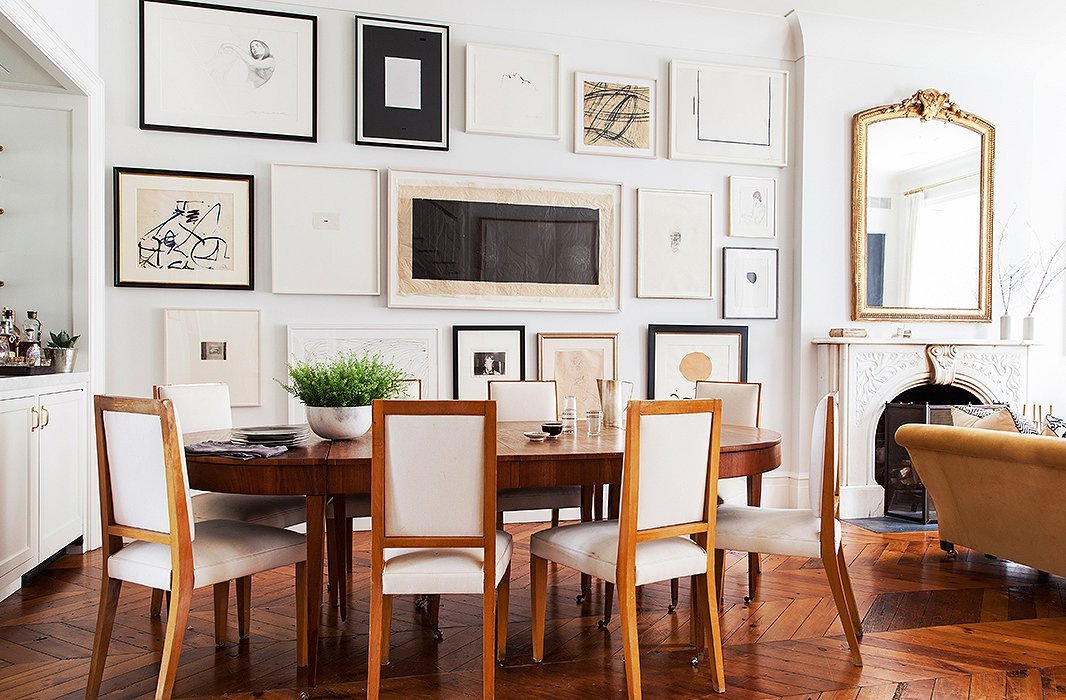
Alison Cayne's home via One Kings Lane
|
like blog
|
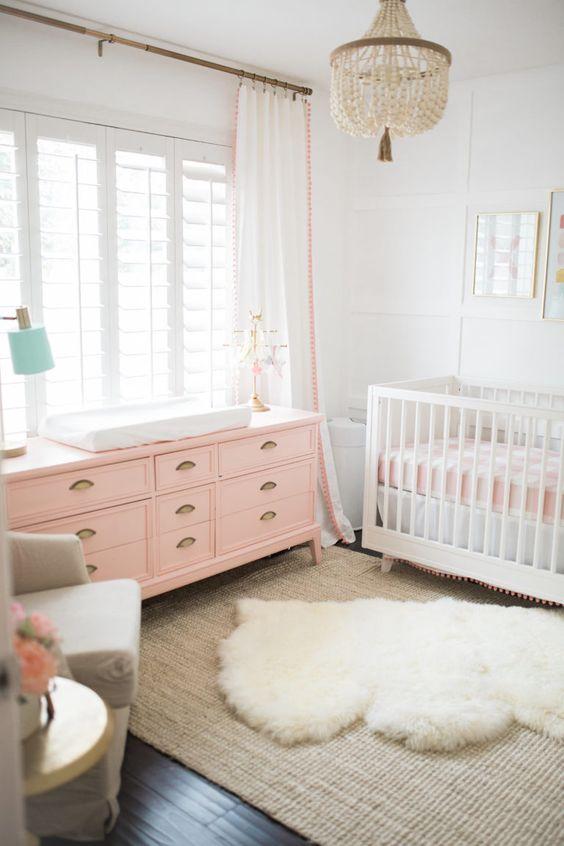
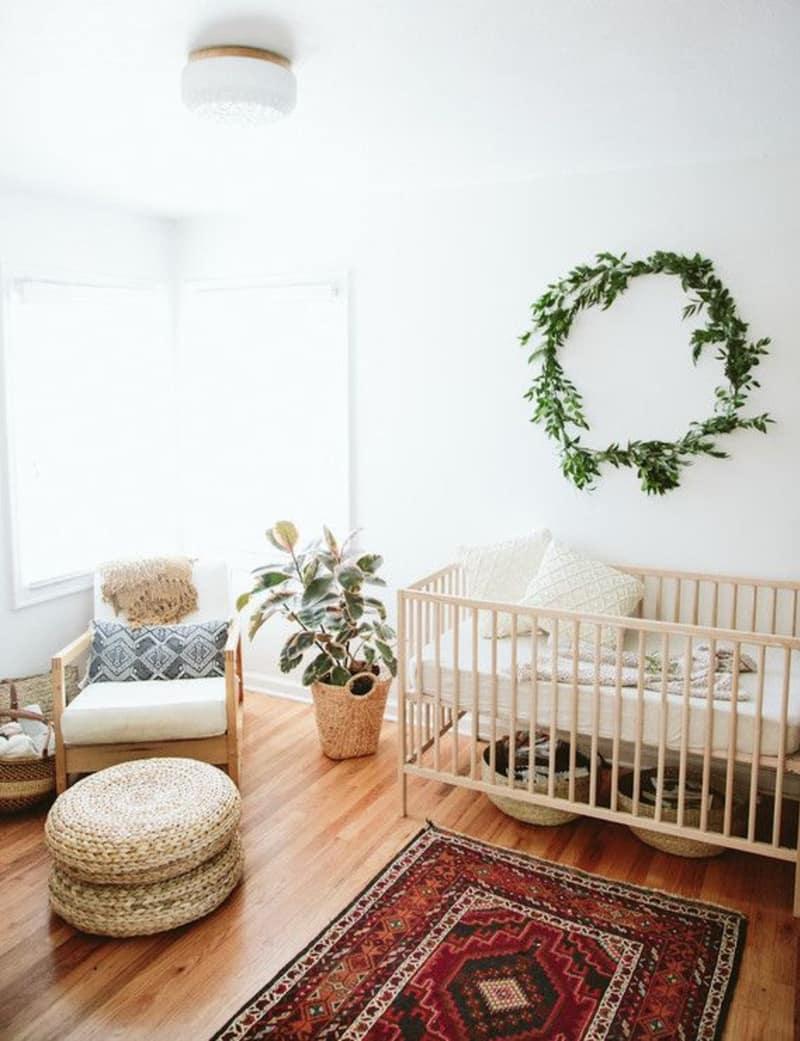
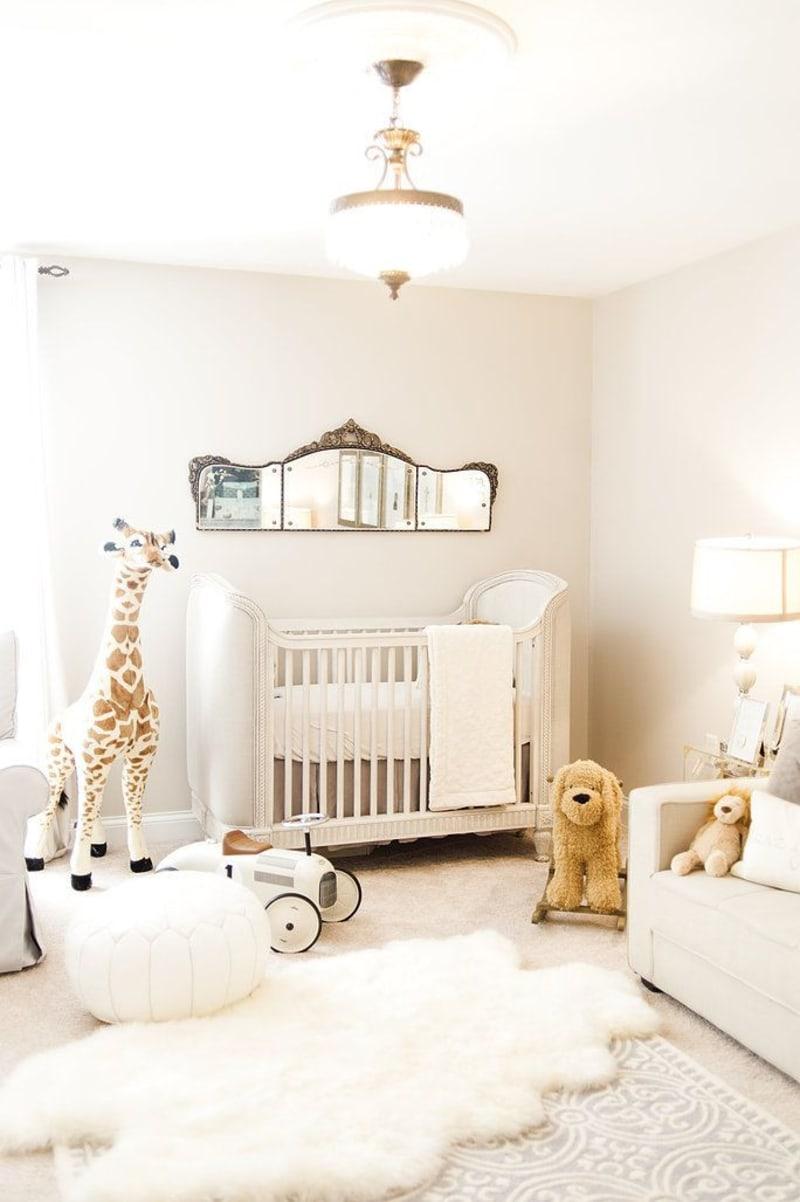
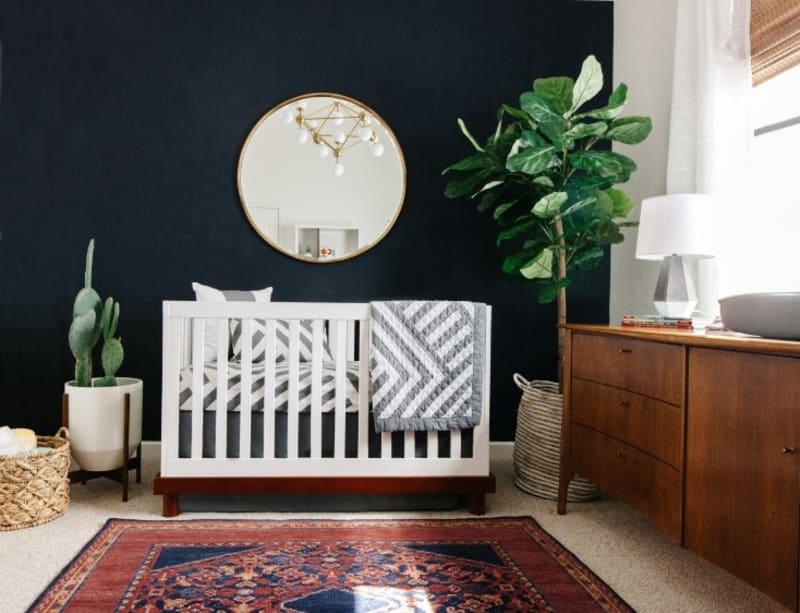






 via pinterest
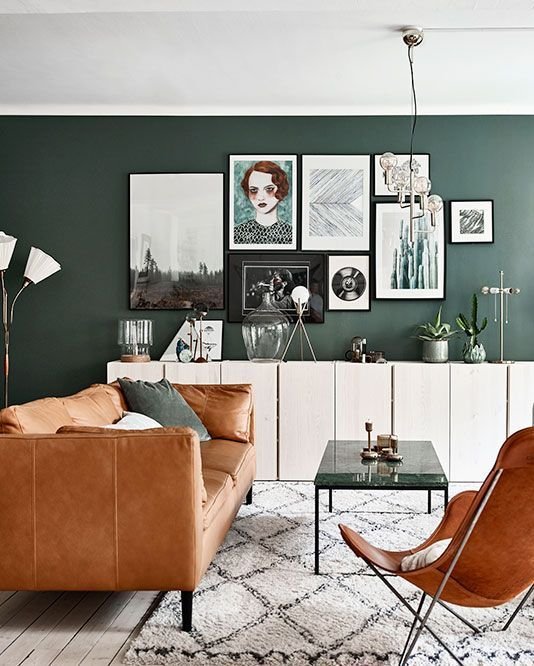 via pinterest
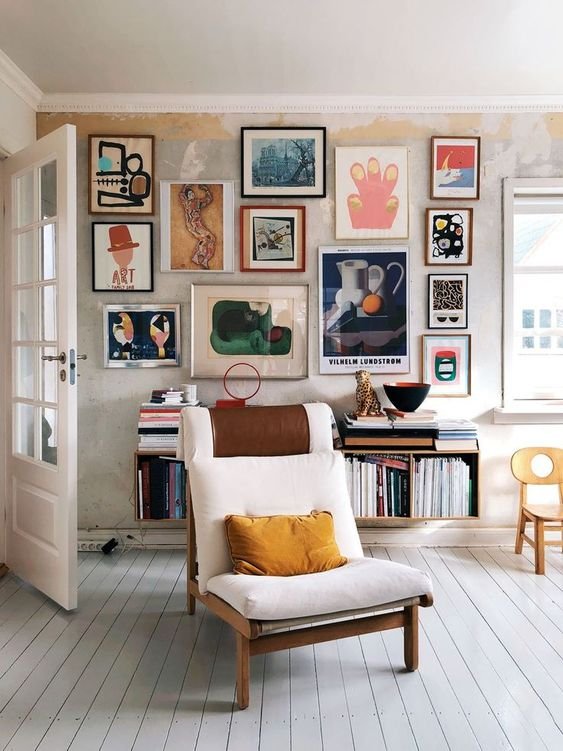 sfgirlbythebay via pinterest